Last updated on November 22, 2026
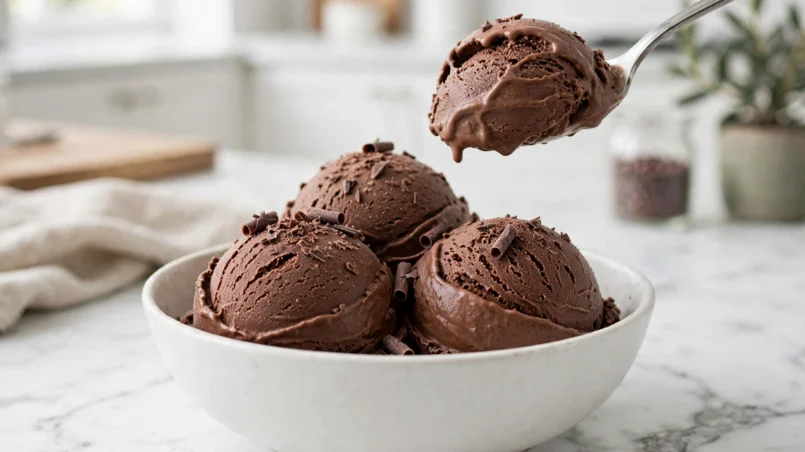
I do not own an ice-cream maker. I have owned three of them over the years — a freezer-bowl one that lived in the freezer and never had room for anything else, a compressor one that cost more than my first oven, and a hand-crank one I bought on a summer holiday and used exactly once — and every one of them ended up in the back of a cupboard, because making ice cream always felt like a project with a machine at the centre of it. Then I found the no-churn method, and this chocolate ice cream recipe is the version I make now: five ingredients, fifteen minutes of active work, no machine, no eggs, no custard to temper, and a freezer that does the rest. It is the first frozen dessert on Chocolacious, and it is also the simplest recipe in the whole collection — which is the point. The hardest thing about homemade ice cream was never the flavour. It was the ice.
Homemade ice cream goes icy for one reason: water freezes into big crystals. The no-churn method beats that two ways at once, and the whole recipe is built on them. Whipped cream folds air into the base, so there is less water in every spoonful. Sweetened condensed milk brings sugar and milk solids that lower the freezing point, so the base never freezes rock-hard. That is why this chocolate ice cream recipe stays scoopable straight from the freezer while a tub of sweetened milk would freeze into a brick. If you have ever made ice cream at home and ended up chiselling it out of the container with a knife, this is the recipe that fixes it — and if you want the same chocolate served warm and molten instead of frozen, our chocolate lava cake recipe is the hot version of this flavour, ready in 27 minutes.
In This Article
- Why This Recipe Works
- Ingredients
- How to Make Chocolate Ice Cream
- The Freeze Guide
- Pro Tips and Troubleshooting
- Variations
- How to Serve and Store
- Frequently Asked Questions
- More Recipes You Will Love
Why This Recipe Works
Ice cream is mostly water, and water is the enemy. When a sweetened milk base freezes slowly in a home freezer, the water in it forms large ice crystals, and large crystals are what your tongue reads as icy and hard. Commercial ice cream solves this with a machine that churns the base constantly while it freezes, breaking the crystals as they form. The no-churn method solves it without the machine, by changing the base so the crystals never get the chance to grow. That is the whole trick, and it has two halves.
The first half is the whipped cream. Two cups of cold heavy cream, whipped to firm peaks, is mostly air — and air does not freeze. When you fold that whipped cream into the chocolate base, you are folding in thousands of tiny air pockets, and every pocket is a place where there is no water to turn into ice. The base ends up lighter, softer, and less watery per spoonful, which is exactly what scoopable means. This is also why you must fold, not stir: stirring knocks the air straight back out, and the air is the texture. The second half is the sweetened condensed milk. A can of it brings a lot of sugar and a lot of milk solids, and sugar lowers the freezing point of water — the same reason salt melts ice on a road, working in reverse. With that much sugar in the base, the mixture never freezes rock-hard in a home freezer. It freezes firm, but a spoon still goes through it after a short rest on the counter.
That is also why condensed milk is not interchangeable with evaporated milk, and why low-fat cream fails here. Evaporated milk has no sugar in it, so it brings water without the freezing-point protection, and a base made with it freezes solid. Low-fat cream has less fat and more water, which is the exact opposite of what the recipe needs: more water means more ice, and less fat means less richness to hide it. The fat in full-fat cream matters twice — it carries flavour, and it gets in the way of the ice crystals. Use cold heavy whipping cream, full-fat, 35 percent fat or more, and the real can of sweetened condensed milk, and the science takes care of itself. The cocoa is the only chocolate flavour in this recipe, so it matters more here than in any baked recipe on this site: cheap cocoa tastes dusty and bitter, and there is no melted chocolate or butter to cover for it. Buy good unsweetened cocoa, and the whole recipe tastes like the money you spent on it.
Ingredients
Five ingredients, and that is the whole list — cream, condensed milk, cocoa, vanilla and salt. There is nothing to hide behind, which is why the cocoa matters as much as it does: it IS the chocolate flavour here, so buy the best unsweetened cocoa you can find. Dutch-processed cocoa gives a smoother, darker result; natural cocoa works too, but it is more bitter. Either way, sift it before it meets the condensed milk, because cocoa clumps, and a clump that survives into the freezer is a dry, dusty bite in an otherwise creamy scoop.
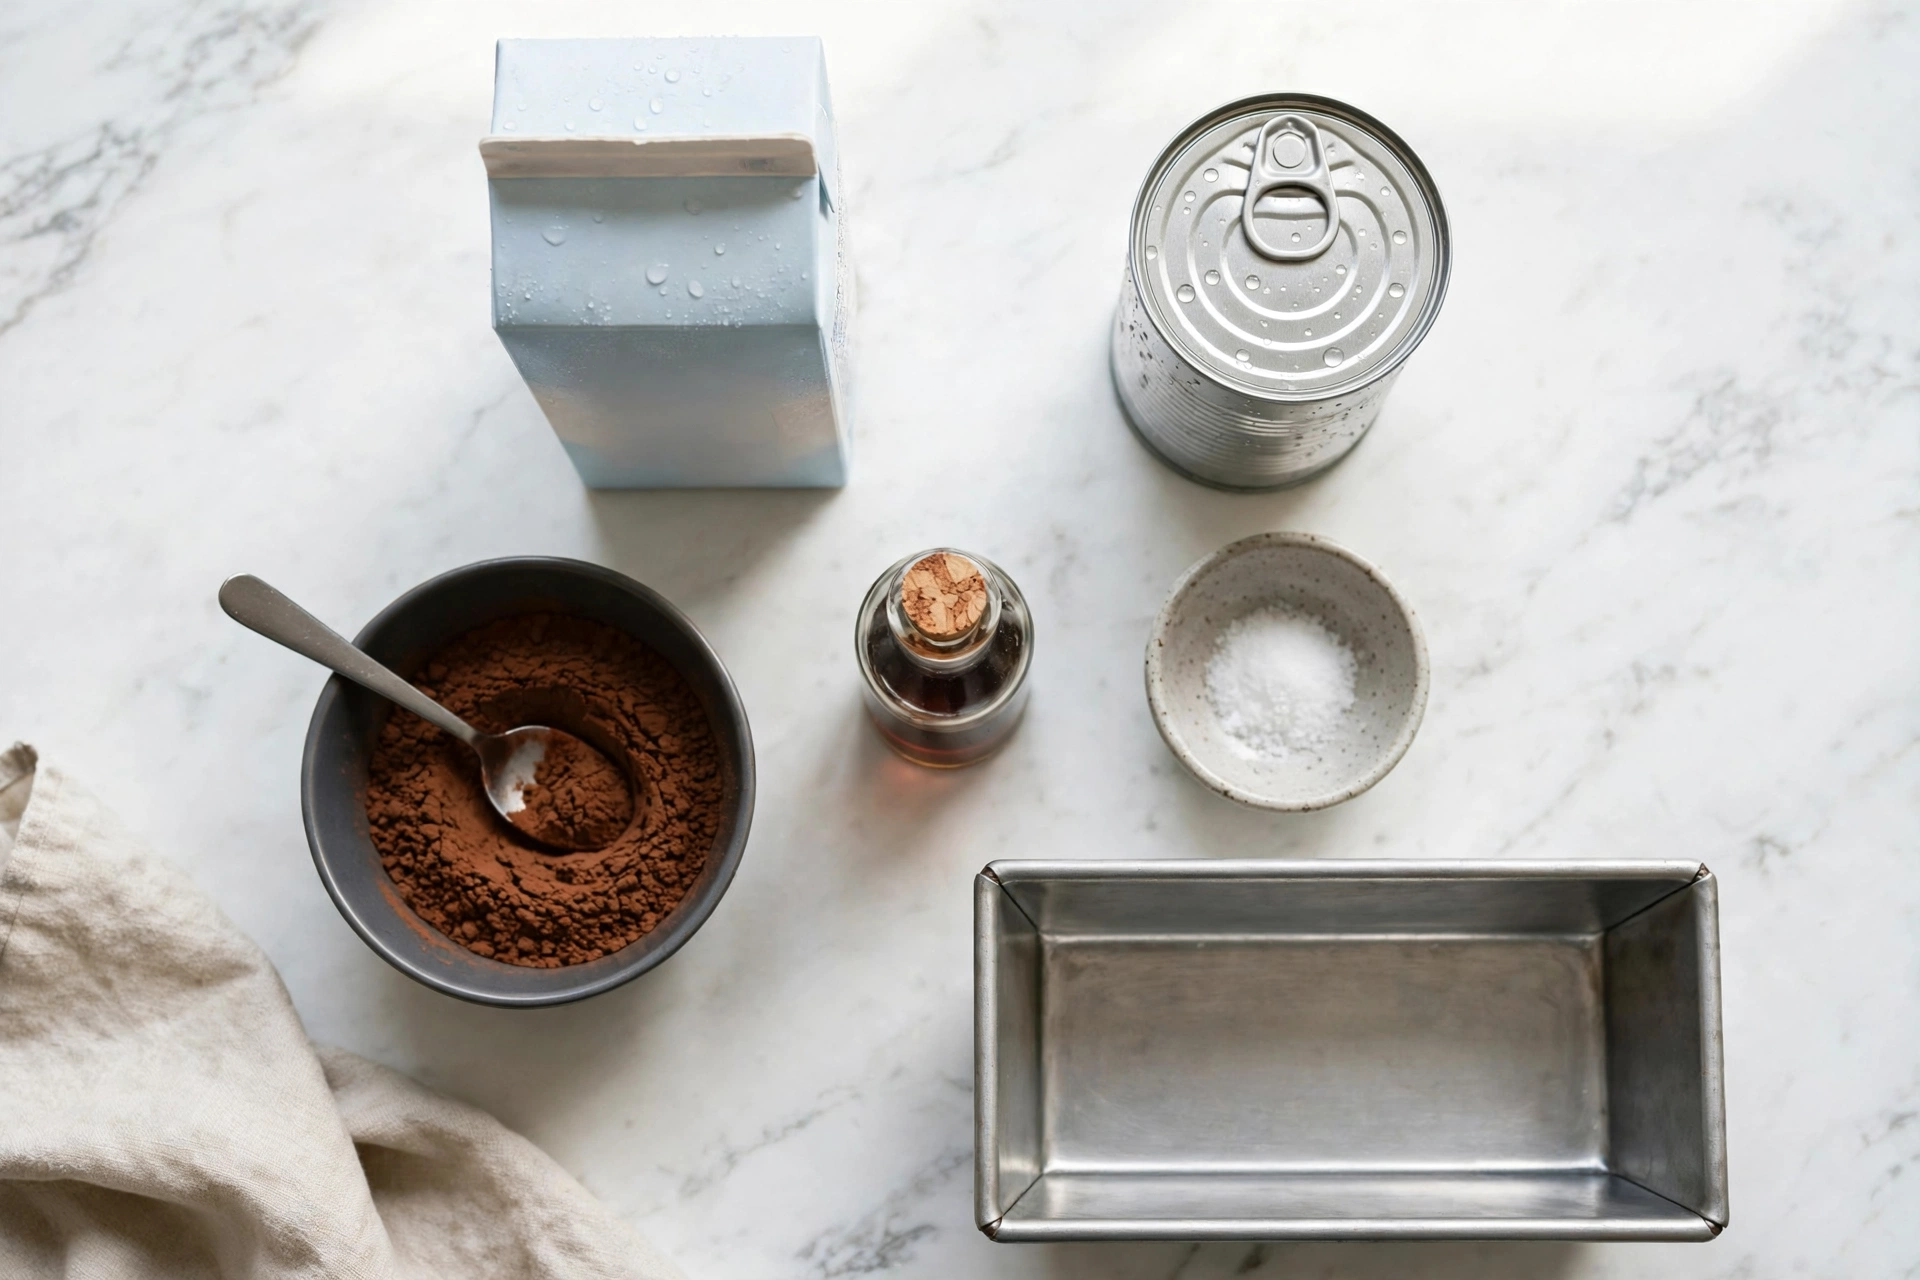
- 2 cups (480 ml) cold heavy whipping cream — full-fat, 35 percent fat or more, and cold from the fridge. Not low-fat, not half-and-half, not milk. The fat is the texture: less fat means more water, and more water means more ice.
- 1 can (14 oz / 397 g) sweetened condensed milk — the real thing, not evaporated milk. Evaporated milk has no sugar in it, so it will freeze solid. Condensed milk is the sweetness and the scoopability in one can, so do not cut it back.
- 1/2 cup (45 to 50 g) unsweetened cocoa powder, sifted — Dutch-processed for a smoother, darker result. This is the deep-chocolate end of the range: some no-churn recipes use as little as 3 tablespoons, and this one uses the full half cup because the cocoa is the only chocolate in the recipe.
- 1 teaspoon vanilla extract — pure vanilla, not imitation. It rounds out the cocoa and softens the bitter edge, the way it does in every chocolate recipe on this site.
- 1/4 teaspoon fine salt — a small pinch, but not optional. Salt makes the chocolate taste louder, and in a recipe with only five ingredients, every one of them has to earn its place.
A note on the cocoa: if your cocoa is natural rather than Dutch-processed, the ice cream will be a little more bitter and a little lighter in colour, and that is fine — it is still the same recipe. What is not fine is sweetened cocoa or hot-chocolate mix: both bring their own sugar, and the condensed milk already brings all the sweetness this base can carry. Use unsweetened cocoa, sift it, and whisk it into the condensed milk until the mixture is dark and shiny before the cream goes anywhere near it.
How to Make Chocolate Ice Cream
Seven steps, fifteen minutes of active work, and then the freezer does the rest. The only skill in this recipe is the fold, and the only rule is to keep everything cold until it goes into the pan. Read the freeze guide below before you start, because the six-hour freeze is the recipe, and the five-to-ten-minute rest before scooping is the difference between a scoop and a chisel.
- Chill the bowl and the pan. Put your mixing bowl and a 9 by 5 inch loaf pan (or a freezer-safe container) in the freezer for 15 minutes before you start. Cold equipment keeps the cream cold, and cold cream whips faster and holds its peaks longer. This is a small step, and it is the one people skip — and then wonder why their cream took forever to whip.
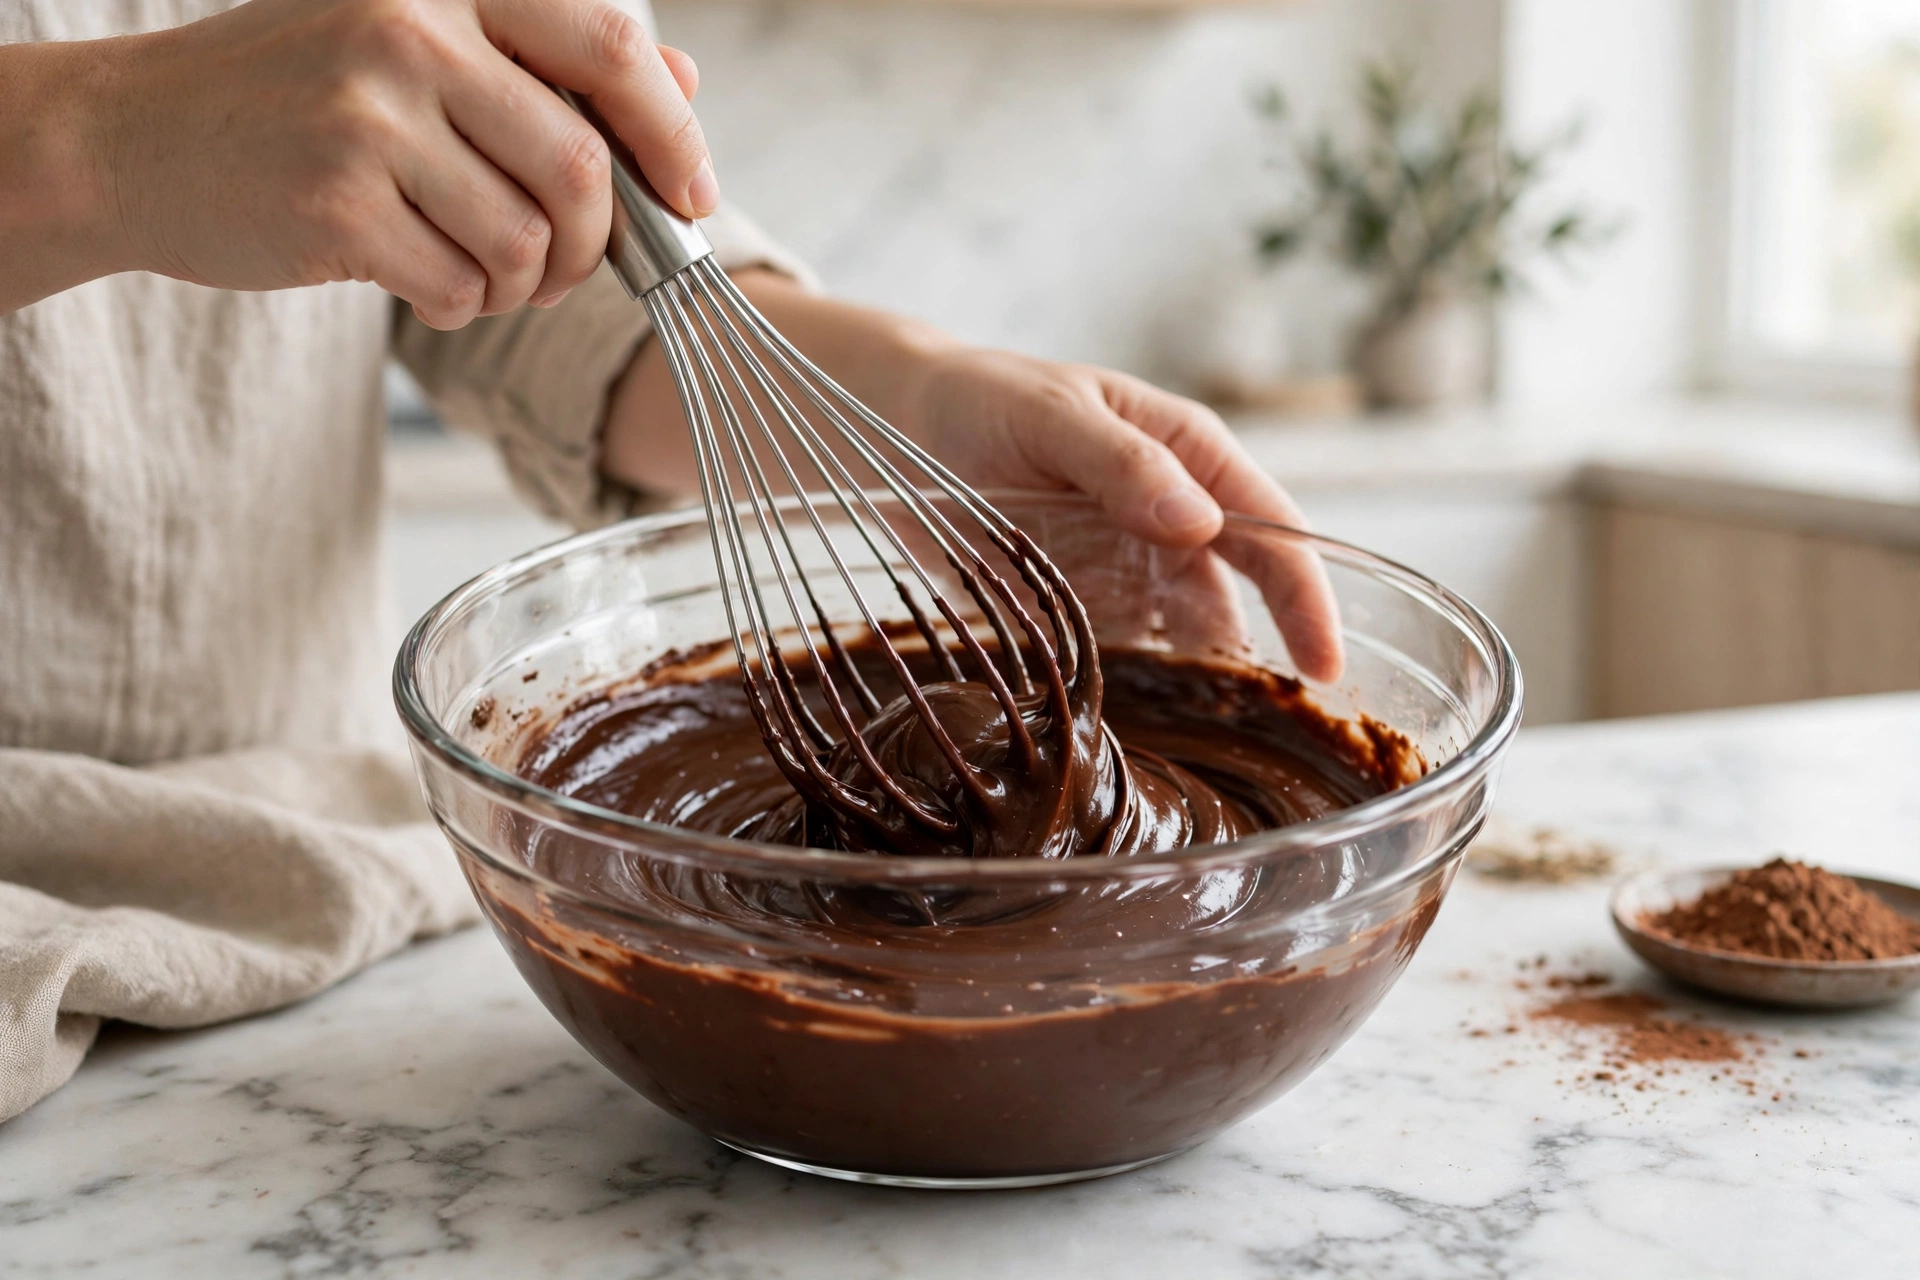
- Whisk the chocolate base. In a medium bowl, whisk the sweetened condensed milk, the sifted cocoa powder, the vanilla and the salt together until smooth, dark and shiny. It will look chalky and dry at first — that is the cocoa resisting the milk — so keep whisking. After a minute or two it turns glossy and smooth, like melted chocolate, and that is when it is ready. Do not move on while it is still dusty: cocoa that is not fully whisked in now stays chalky in the finished ice cream.
- Whip the cream to firm peaks. In the chilled bowl, whip the cold heavy cream with a hand mixer or a stand mixer for 2 to 3 minutes, until it holds firm, stiff peaks — when you lift the beaters, the peaks stand up straight instead of flopping over. Do not over-whip: a minute past firm peaks and the cream starts turning grainy on its way to butter, and grainy cream makes grainy ice cream.
- Fold in half the cream. Scoop about half the whipped cream into the chocolate base and fold it in gently with a spatula: cut down through the centre, sweep along the bottom of the bowl, and lift the mixture up and over. Slow, wide strokes. This first half lightens the dense chocolate base so the second half folds in without a fight, and it is the step that keeps the air in.
- Fold in the rest. Add the remaining whipped cream and fold again, gently, until there are no white streaks left — scrape the bottom of the bowl, because the chocolate base sinks and hides there. Stop the moment the mixture is one even chocolate colour. Fold, do not stir: stirring knocks the air out, and the air is the texture. White streaks mean under-folded; a deflated, soupy bowl means over-mixed.
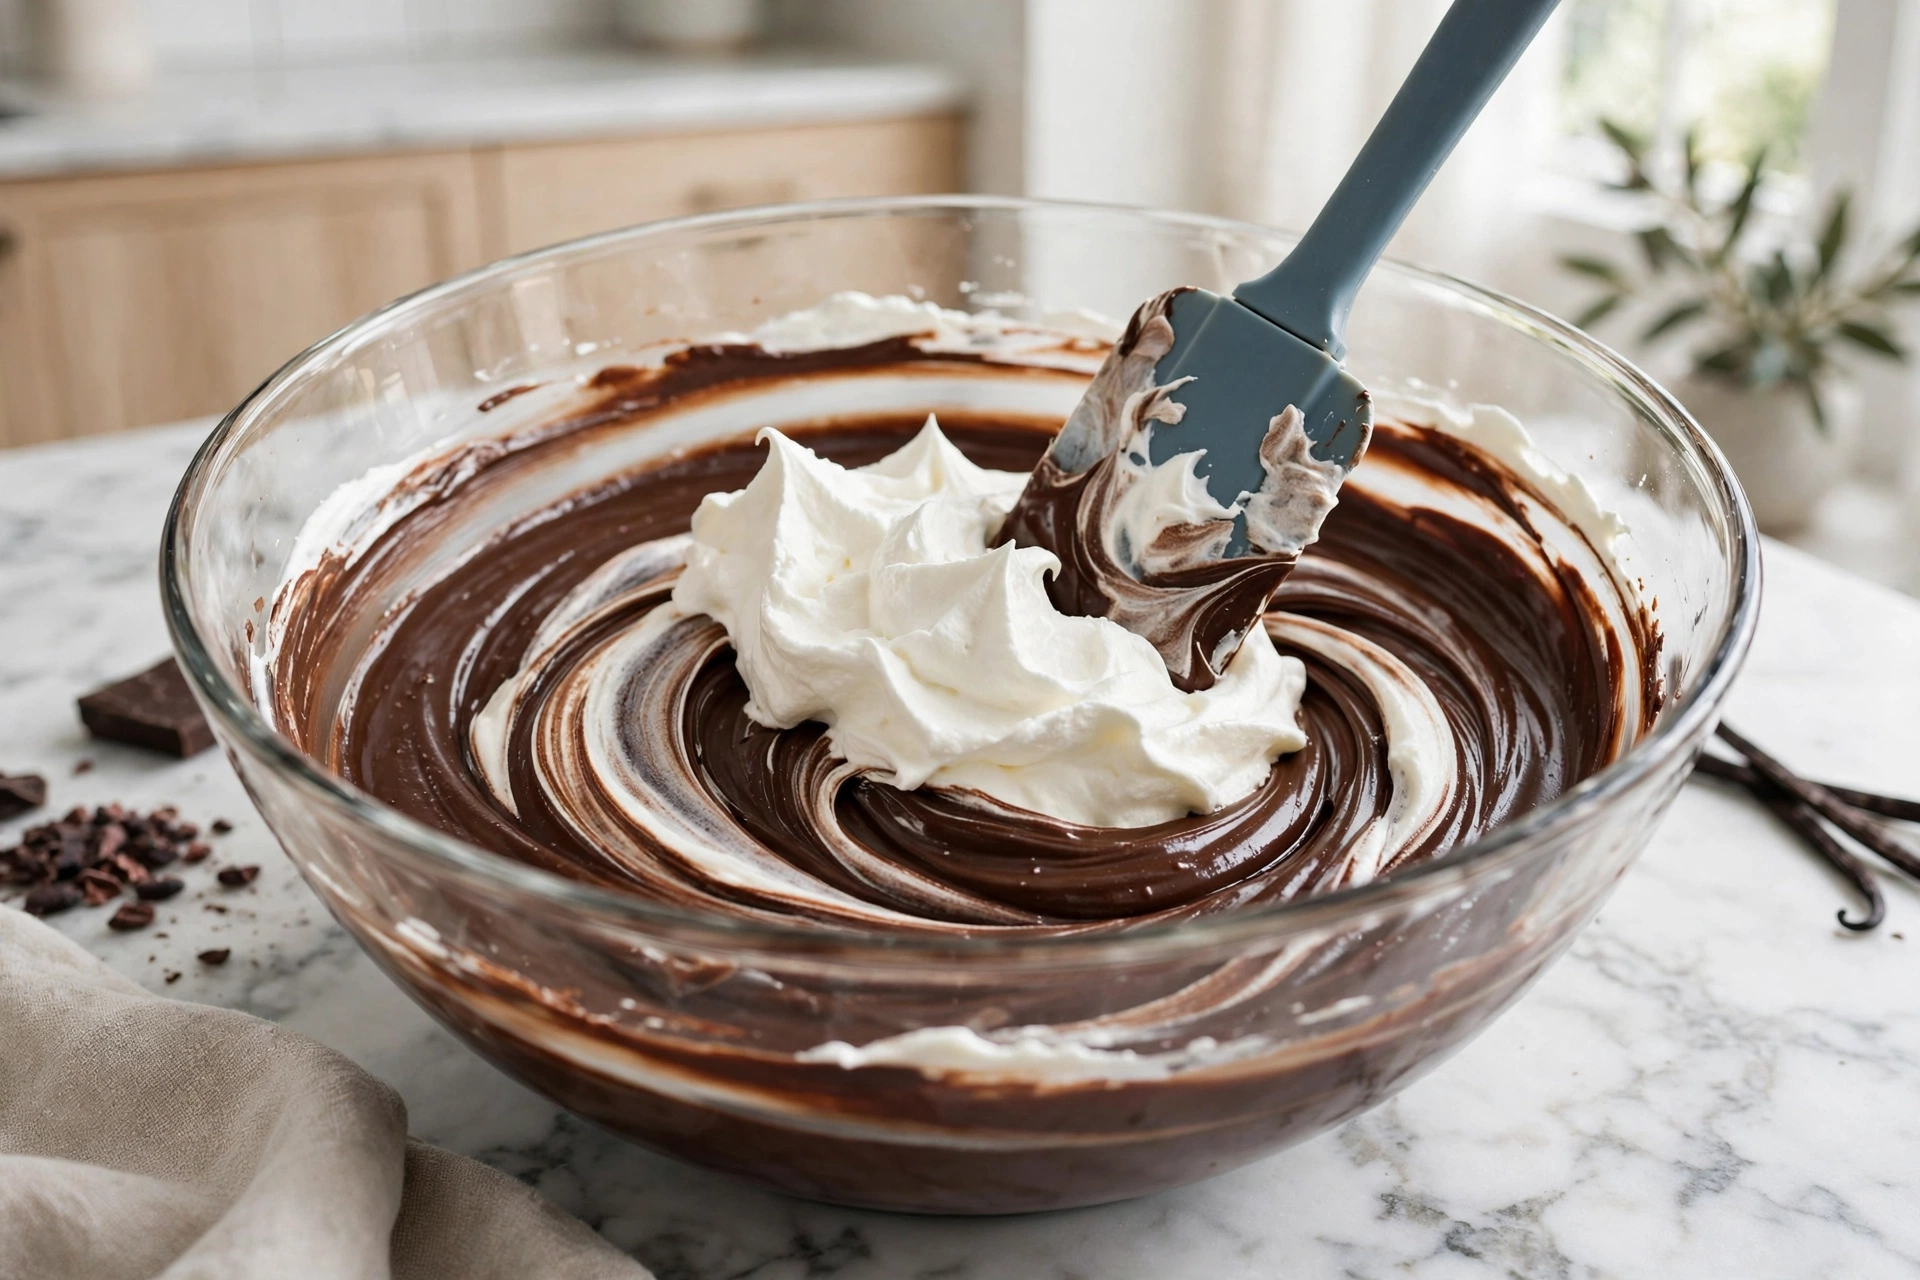
- Pan and cover. Scrape the mixture into the chilled loaf pan and smooth the top. Cover it tightly — a lid, or plastic wrap pressed directly onto the surface of the ice cream, not just stretched over the pan. The wrap on the surface is what stops freezer burn: an uncovered surface dries out and turns icy on top while the middle stays creamy.
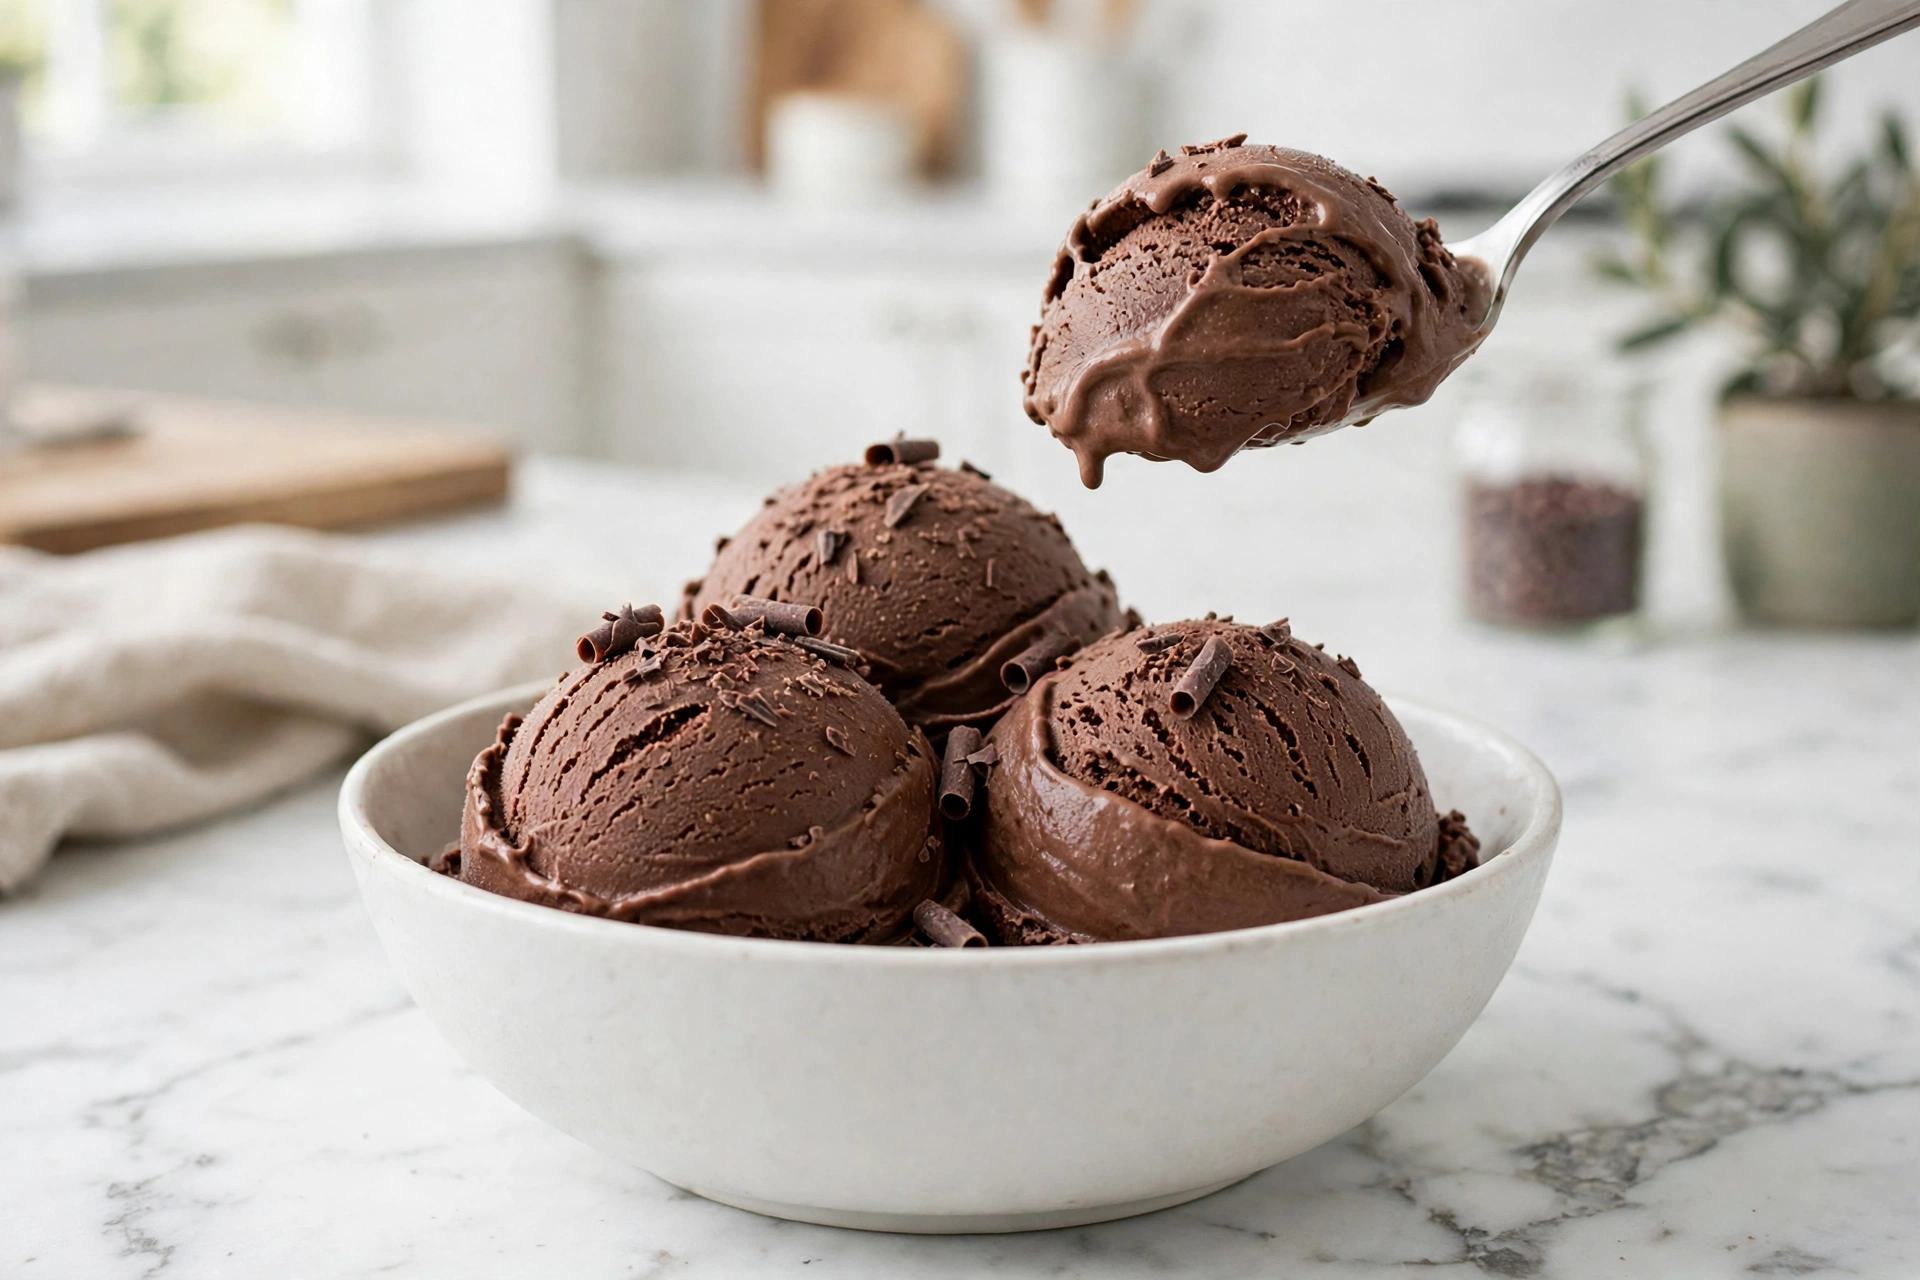
- Freeze at least 6 hours. Put the pan in the freezer and leave it alone for at least 6 hours, until firm to the touch. Overnight is best, and it is what I do — make it after dinner, eat it tomorrow. Then rest it on the counter for 5 to 10 minutes before scooping, so the spoon goes through cleanly instead of skating across a frozen surface.
The Freeze Guide
The freeze is the recipe, so here it is as a table. Six hours is the minimum, overnight is the safest, and the rest before scooping is not optional — it is the step that turns a frozen block into ice cream.
| Stage | Time | What to Look For |
|---|---|---|
| Chill the bowl and pan | 15 minutes in the freezer | Cold equipment, so the cream whips fast and holds its peaks |
| Active work | About 15 minutes | Whisk, whip, fold, pan — everything done before the cream warms up |
| Minimum freeze | 6 hours | Firm to the touch all the way through; a knife meets resistance, a spoon goes in with effort |
| Best freeze | Overnight, 8 to 12 hours | Fully set, evenly firm, the texture at its creamiest |
| Rest before scooping | 5 to 10 minutes on the counter | The surface softens just enough for a clean scoop; a warm spoon helps too |
How to tell it is set: press the surface gently with a fingertip. If it gives slightly and springs back, it is ready. If your finger sinks in easily, give it another hour. If it feels like a brick, it has been in the freezer a long time and it needs the full ten-minute rest — or your freezer is running colder than usual, which is the most common reason a no-churn batch comes out hard. The rest fixes it. A scoop taken too early melts too fast and tastes thin; a scoop taken after the rest holds its shape on the spoon and melts slowly on the tongue, which is the whole point of ice cream.
Pro Tips and Troubleshooting
Most no-churn ice cream problems have one of five causes, and all five are easy to fix — or to avoid entirely. Here they are, with the fix for each:
- Icy or hard as a rock: low-fat cream, or stirred instead of folded. Low-fat cream brings more water and less fat, and more water means more ice — use full-fat heavy cream, 35 percent or more. And if the mixture was stirred rather than folded, the air is gone, and the air is the texture. Next time, fold in slow, wide strokes and stop the moment the white streaks disappear. For the batch you already have, the fix is the rest: ten minutes on the counter before scooping softens even a hard batch.
- Too sweet: the condensed milk and sweet cocoa together. Use unsweetened cocoa, and add dark chocolate pieces or a pinch more salt rather than cutting the condensed milk — the milk is structural, and cutting it makes the ice cream freeze solid. The sweetness is the price of the scoopability, and it is a fair trade: the condensed milk is what keeps the base soft.
- Chalky or dusty: the cocoa was not fully whisked into the condensed milk. The mixture looks chalky at first and it tempts you to move on — do not. Keep whisking until it is dark, smooth and shiny, like melted chocolate. Sifting the cocoa before it goes in helps, because cocoa clumps, and a clump that survives the whisk survives into the freezer.
- White streaks: under-folded. The chocolate base is dense and it sinks to the bottom of the bowl, so the top looks done while the bottom is still streaked. Scrape the bottom of the bowl with the spatula and fold until the mixture is one even chocolate colour, all the way through. A streaked batch still tastes fine — it just looks unfinished, and it melts unevenly.
- Freezer burn on top: an uncovered surface. Plastic wrap stretched over the pan is not enough — the air trapped underneath dries the surface out and turns it icy. Press the wrap directly onto the surface of the ice cream, so there is no air between the wrap and the base, and the top stays as creamy as the middle.
Two more tips worth knowing: weigh the cocoa — grams are where the balance stops slipping, and half a cup of cocoa can weigh anywhere from 40 to 55 grams depending on how it is scooped, which is the difference between deep chocolate and dusty. And warm your scoop. A metal scoop dipped in hot water for a few seconds cuts through the frozen surface cleanly, and a clean cut is what makes a round scoop instead of a ragged scrape.
Variations
Once the base recipe works, it takes variations happily — five of them, all built on the same folding method, so the active work does not change:
- Churned custard version: the richer, denser original, for anyone who owns a machine. Heat 1 and 1/2 cups milk with 1 and 1/2 cups cream, 3/4 cup sugar and 8 oz bittersweet chocolate, temper in 4 egg yolks, and cook to 180 to 185°F until the custard coats a spoon. Chill it completely, then churn. It is richer and denser than the no-churn version, and it needs the machine and the temper — which is why the no-churn base is the recipe, and this is the variation.
- Mint chocolate: add 1/2 teaspoon of peppermint extract to the chocolate base and fold in 1/2 cup of mini chocolate chips before panning. Add the chips at the folding stage, not the whisking stage, or they sink. The peppermint makes the chocolate taste colder, which is the whole point of the combination.
- Chocolate peanut butter swirl: warm 1/3 cup of peanut butter until it pours, then drizzle it over the surface in ribbons after the base is in the pan and drag a knife through it once or twice. Do not stir it in — the swirl is the point, and stirring turns the whole batch a flat tan colour.
- Rocky road: fold in 1/2 cup of mini marshmallows and 1/2 cup of chopped toasted nuts with the second half of the whipped cream. Fold them in gently, so the marshmallows do not dissolve, and expect the freeze to take an hour longer — the add-ins slow the set slightly.
- Affogato-style serving: scoop it into a small cup and pour a shot of hot espresso over the top. The espresso melts the edges into a cold, creamy chocolate-coffee sauce, and it is the fastest dessert on this page — a scoop, a shot, and nothing else. It is also the reason to keep a tub of this in the freezer even when there is no occasion: it turns into dessert in thirty seconds.
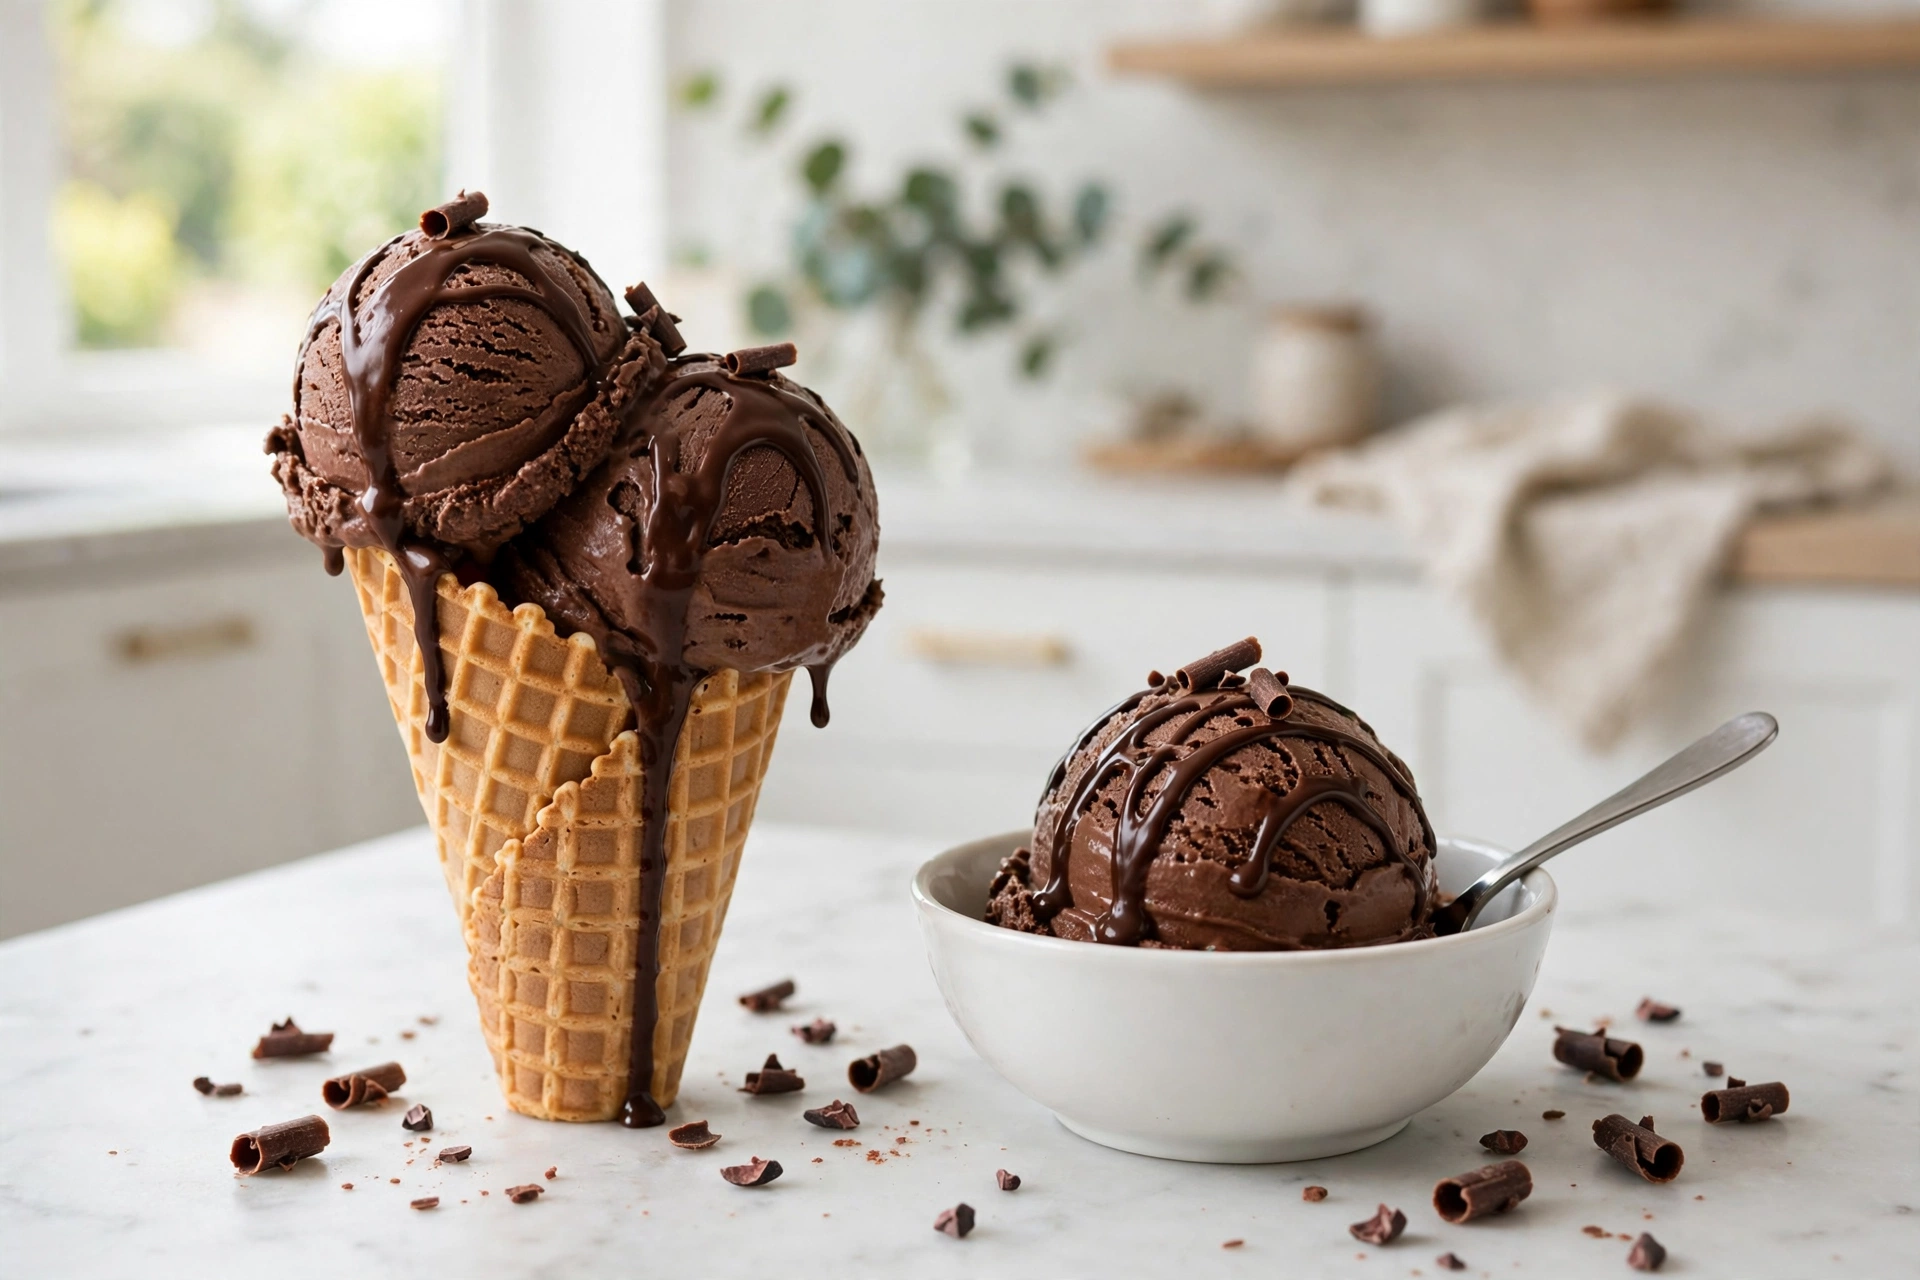
Serving: a waffle cone, a brownie sundae, or warm fudge sauce poured over the top are the classics, and they are classics because the warm and the cold belong together. For the brownie sundae, our eggless brownies are the base — a warm square, a cold scoop, and the same fudge sauce from our chocolate fudge recipe. And if you want the same chocolate served hot instead of frozen, a mug of our hot chocolate recipe is the other half of the winter version.
How to Serve and Store
Serve after a 5 to 10 minute rest on the counter, with a warm scoop — the rest is what makes the spoon go through cleanly, and the warm scoop is what makes a round scoop instead of a scrape. A scoop in a waffle cone, a scoop over a warm brownie, or a scoop in a cup with hot espresso poured over it are the three servings I come back to, and they all work because the ice cream is cold and the other half is warm.
Store it covered in the freezer for 1 to 2 weeks, with the wrap pressed onto the surface, and eat it in the first week if you can — the texture is at its best then, and it slowly firms up and loses a little of its creaminess after that. Do not refreeze it after it has fully melted: a melted and refrozen batch freezes into a solid, icy block, because the air that made it scoopable is gone and there is no way to fold it back in.
Frequently Asked Questions
Do I need an ice-cream maker?
No — that is the point of no-churn. The whipped cream folds in the air and the sweetened condensed milk lowers the freezing point, so the base freezes scoopable without a machine churning it. If you own a machine, the churned custard variation above is richer and denser, but it is a different recipe with a different method, and it is not the one to make tonight.
Can I use evaporated milk instead of condensed milk?
No. Evaporated milk has no sugar in it, and the sugar is doing the work — it lowers the freezing point so the base stays scoopable instead of freezing solid. A base made with evaporated milk freezes into a brick, and no amount of resting will fix it. Sweetened condensed milk is the only substitution that works, because there is no substitution for it.
Why is my ice cream icy?
Either the cream was low-fat, or the mixture was stirred instead of folded. Low-fat cream brings more water, and more water means more ice — use full-fat heavy cream, 35 percent or more. Stirring knocks the air out of the whipped cream, and the air is the texture: fold in slow, wide strokes, scrape the bottom of the bowl, and stop the moment the white streaks disappear. A freezer running colder than usual can also make a batch feel hard — the ten-minute rest before scooping fixes that.
How long does it take to freeze?
At least 6 hours, until firm to the touch. Overnight, 8 to 12 hours, is safest and gives the creamiest result. Then rest it on the counter for 5 to 10 minutes before scooping, so the spoon goes through cleanly. A scoop taken too early melts too fast and tastes thin; a scoop taken after the rest holds its shape and melts slowly.
Can I use milk chocolate?
Yes, but cut nothing — the condensed milk stays as written, because it is structural. Milk chocolate will make the ice cream sweeter and softer, and the dark cocoa is still needed for depth, so keep the full half cup of unsweetened cocoa. The result is a lighter, sweeter chocolate, closer to a milk-chocolate bar than a dark one.
How long does it keep?
One to 2 weeks in the freezer in a covered container, with wrap pressed onto the surface. It is at its best in the first week, and it slowly firms up after that. Do not refreeze it after it has fully melted — the air is gone, and a refrozen batch freezes solid and icy.
Can I make it dairy-free?
Not with this base. The condensed milk and the cream are structural — the sugar in the condensed milk lowers the freezing point, and the fat in the cream carries the texture — so swapping them out makes a different recipe, not a dairy-free version of this one. A coconut-cream version exists, but it needs its own quantities and its own method, and it is not this recipe with two ingredients changed.
Nutrition (Per Serving, Approximate)
Calories: 275 | Carbohydrates: 30g | Protein: 4g | Fat: 17g | Sugar: 27g
Nutrition values are estimated for 1 of 8 servings, and may vary based on exact ingredients used.
More Recipes You Will Love
| Recipe | Category |
|---|---|
| Chocolate Lava Cake Recipe | Chocolate Treats and Candy |
| Eggless Brownies | Chocolate Treats and Candy |
| Hot Chocolate Recipe | Chocolate Treats and Candy |
| Chocolate Fudge Recipe | Chocolate Treats and Candy |
| Chocolate Cake Recipe | Chocolate Treats and Candy |
Chocolate Ice Cream Recipe
Ingredients
Method
- Chill your mixing bowl and a 9×5-inch loaf pan (or a freezer-safe container) in the freezer for 15 minutes before you start. Cold equipment keeps the cream cold, and cold cream whips faster and holds its peaks longer.
- Whisk the sweetened condensed milk, the sifted cocoa powder, the vanilla and the salt together in a medium bowl until smooth, dark and shiny. It will look chalky and dry at first — keep whisking until it turns glossy like melted chocolate.
- Whip the cold heavy cream in the chilled bowl for 2 to 3 minutes, until it holds firm, stiff peaks — when you lift the beaters, the peaks stand up straight. Do not over-whip: a minute past firm peaks and the cream turns grainy.
- Scoop about half the whipped cream into the chocolate base and fold it in gently with a spatula: cut down through the centre, sweep along the bottom of the bowl, and lift the mixture up and over. Slow, wide strokes — fold, do not stir.
- Add the remaining whipped cream and fold again, gently, scraping the bottom of the bowl, until there are no white streaks left and the mixture is one even chocolate colour. Stop the moment it is even — over-mixing knocks the air out.
- Scrape the mixture into the chilled loaf pan and smooth the top. Cover tightly with a lid, or press plastic wrap directly onto the surface of the ice cream, not just over the pan — the wrap on the surface stops freezer burn.
- Freeze at least 6 hours, until firm to the touch — overnight is best. Rest on the counter for 5 to 10 minutes before scooping, so the spoon goes through cleanly.