Last updated on November 17, 2026
There is a particular kind of cold that only arrives in mid-November, the kind that makes you want something warm in both hands. For me, that something has always been a mug of real hot chocolate — not the packet kind, not the dusty mix from a tin, but proper hot chocolate made on the stovetop in ten minutes, in one saucepan, from ingredients I already have in the pantry. This hot chocolate recipe is the one I come back to every winter, and it is the one I make when friends drop by unannounced and I want the kitchen to smell like chocolate within minutes. It uses cocoa powder and melted dark chocolate, and it starts with a little trick — a glossy paste whisked up before the milk ever goes in — that is the difference between a silky cup and a lumpy one. Once you have made it this way, the packet will never taste right again.
If you have only ever made hot chocolate from a packet, this recipe will surprise you. Packet mixes are mostly sugar and dried milk with a little cocoa, and they taste like it — sweet, thin, and one-note. Real hot chocolate is melted chocolate in hot milk, and it tastes like chocolate itself: deep, a little bitter at the edges, rich enough to coat a spoon. It is the same chocolate you already know from our chocolate pudding recipe and our chocolate mousse recipe — just served as a drink, in ten minutes, instead of spooned from a bowl or chilled in a glass. Same chocolate, three different forms. This one is the fastest of the three, and in mid-November, when hot chocolate season is at its peak, it is the one I make most.
Table of Contents
- Hot Chocolate vs Hot Cocoa
- Why This Recipe Works
- Ingredients
- How to Make Hot Chocolate
- The Paste Guide
- Pro Tips and Troubleshooting
- Variations
- How to Serve and Store
- Frequently Asked Questions
- Nutrition
- More Recipes You Will Love
Hot Chocolate vs Hot Cocoa
Most people use the two names for the same drink, but they are not the same thing — and knowing the difference is what makes this recipe work. Hot cocoa is made from cocoa powder, sugar and milk. Hot chocolate is made from melted chocolate in hot milk. The packet in your pantry is almost always hot cocoa, whatever the box says. Here is how they compare:
| Hot Chocolate | Hot Cocoa | |
|---|---|---|
| Made from | Melted chocolate in hot milk | Cocoa powder, sugar and milk |
| Texture | Thicker, richer, coats a spoon | Lighter, thinner, quicker to drink |
| Chocolate flavour | Deep and full, set by the chocolate bar | Roasted and direct, from the cocoa powder |
| Sweetness | Set by the chocolate bar you choose | Controlled entirely by you |
| Best for | A slow, rich, dessert-like cup | A quick everyday mug |
This recipe uses both, on purpose. The cocoa powder gives the drink its deep, roasted chocolate note — the flavour you recognise as chocolate. The melted dark chocolate gives it body and silk: cocoa butter is what makes the drink coat a spoon instead of tasting like sweet brown milk. Cocoa powder alone is too thin; melted chocolate alone can taste flat and one-note, and it is harder to sweeten evenly. Together, they make a cup that is richer than either one on its own, and the paste-first method below is what lets them combine without a single lump.
Why This Recipe Works
Hot chocolate looks simple, and it is — but only if the technique is right. The whole drink is decided in the first minute, before the milk is even warm. Here is why this version works, every single time:
- The paste comes first. Cocoa powder is so fine and dry that it clumps the moment it hits hot milk. Whisking the cocoa, sugar and salt with just a few tablespoons of milk into a thick, glossy paste first gives every speck of cocoa a chance to hydrate evenly. Once the paste is smooth, the rest of the milk goes in without a fight, and the finished drink is completely lump-free. This is the single most important step in the whole recipe.
- Cocoa powder plus melted chocolate. Cocoa powder is pure chocolate flavour with most of the cocoa butter removed, so it dissolves cleanly and gives the drink its deep roasted note. The melted bar adds the cocoa butter back, which is what makes the drink silky and full-bodied. Whole milk fat carries the flavour further. Each part does a job the other cannot.
- The chocolate goes in off the heat. The chopped dark chocolate is added after the milk comes off the burner, and it melts in the residual heat. That keeps the chocolate from scorching or separating, and it is the same reason the milk is never allowed to boil. Gentle heat, then off the heat, then whisk — that is the whole secret.
- Salt and vanilla do real work. A pinch of salt does not make the drink salty; it amplifies the chocolate, the way salt does in every chocolate dessert on this site. The vanilla goes in off the heat so its aroma does not cook off. Both are small amounts with an outsized effect.
- One coherent ratio, scaled to four mugs. The base ratio is one cup of milk, one tablespoon of cocoa, one to two tablespoons of sugar and about one ounce of chocolate per mug. Scale it to four mugs and you get a saucepan-full that serves a family, and the same ratio halves cleanly to two mugs or doubles to eight without any adjustment.
None of this needs special equipment. A medium saucepan, a whisk, and four mugs are all it takes — and ten minutes from the moment you pick up the whisk to the moment you pour.
Ingredients
Six ingredients, all pantry staples. The chocolate matters most here — buy a dark chocolate bar at 60 to 70 percent cocoa that you like eating, and a Dutch-process cocoa if you can find it. The rest of the recipe will take care of itself.
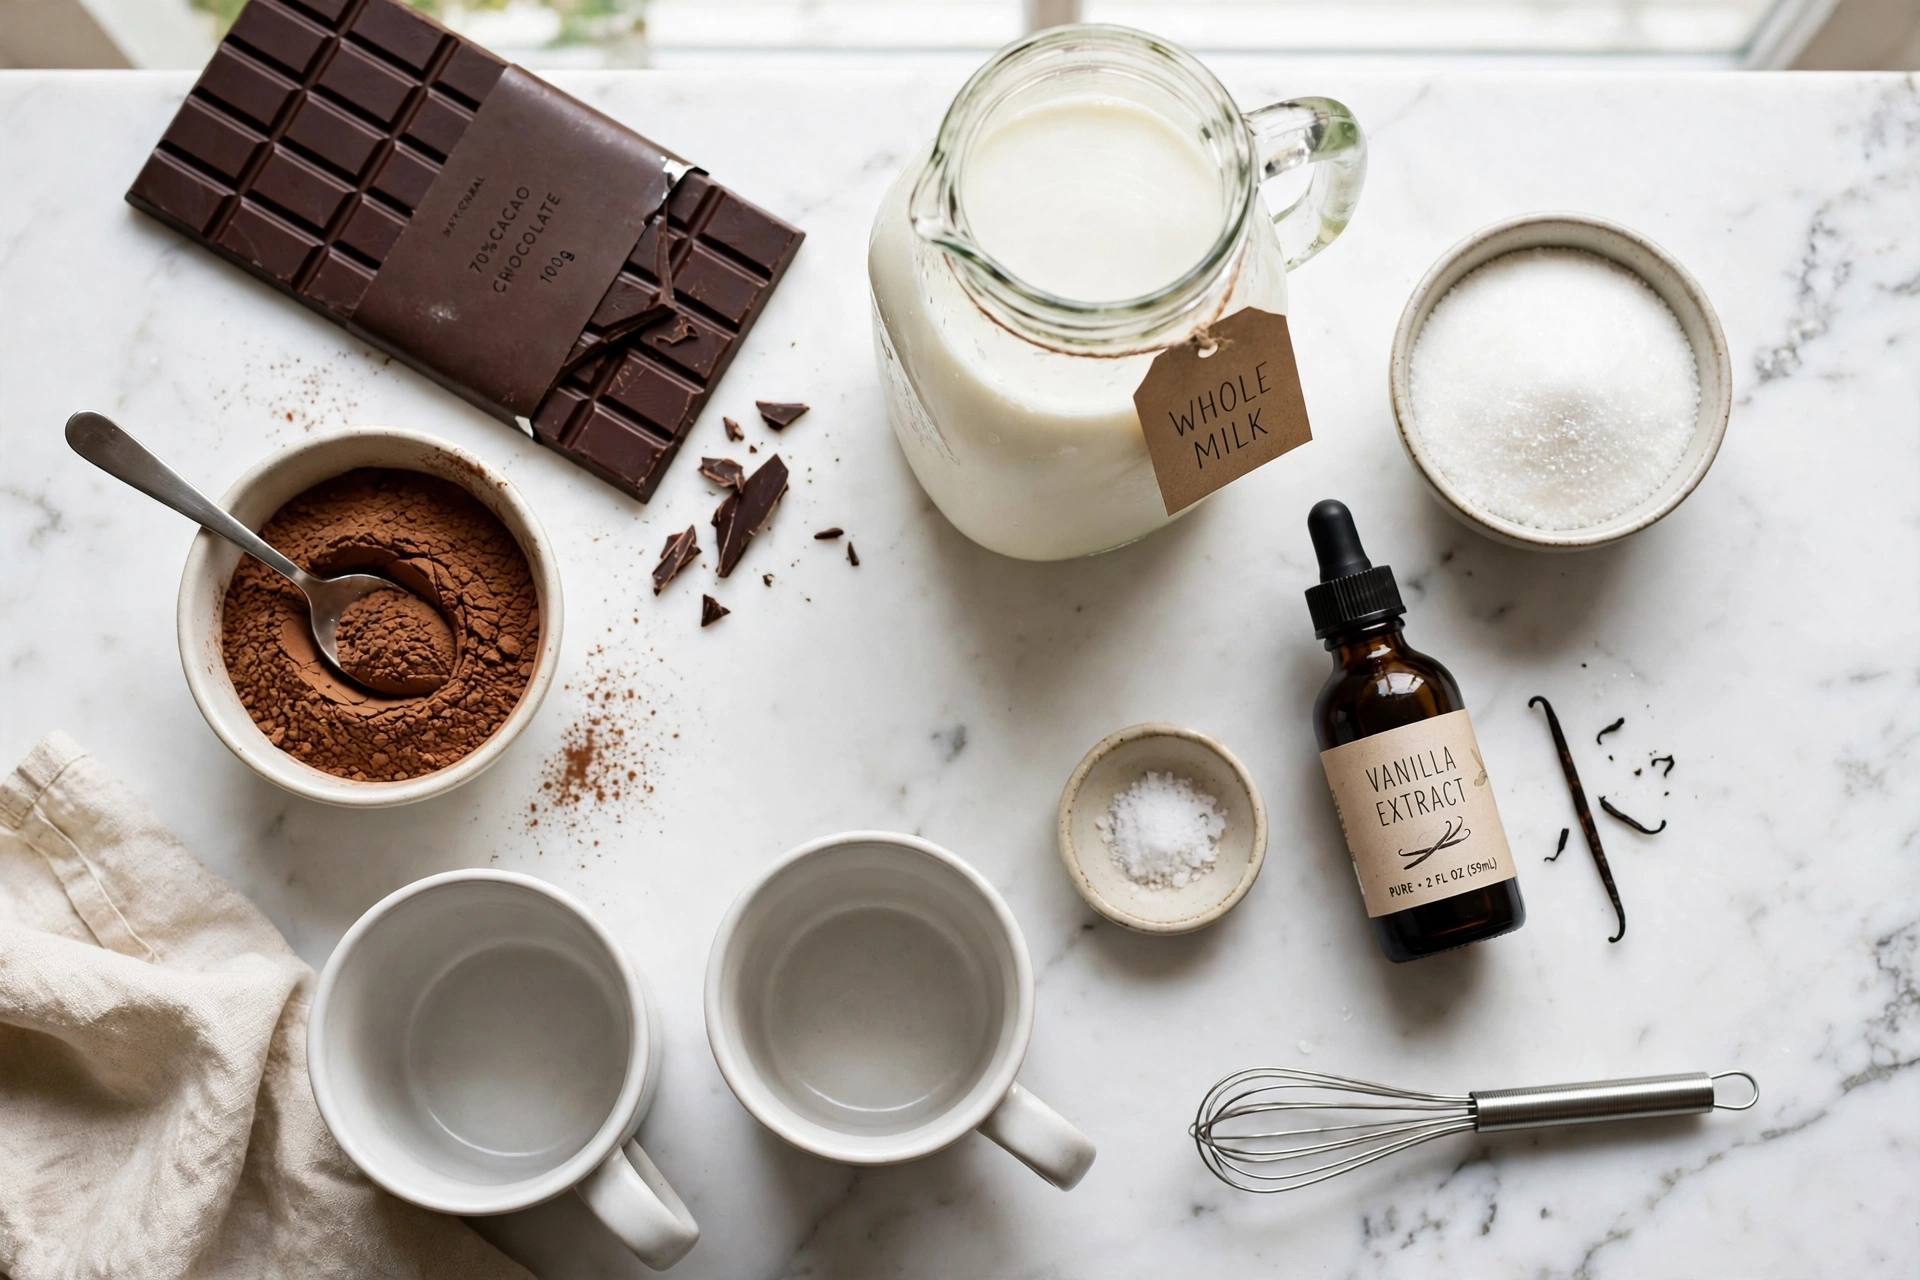
- 4 cups (960 ml) whole milk — the base of the drink. Whole milk gives the richest, fullest cup because its fat carries the chocolate flavour. Two percent milk works as a lighter swap and still tastes good, but the cup will be thinner. Low-fat or skim milk makes a noticeably watery drink, so I do not recommend it here.
- 1/4 cup (30 g) unsweetened cocoa powder, Dutch-process preferred — Dutch-process cocoa is smoother and darker, and it is my first choice for this recipe. Natural cocoa works too and tastes a little sharper and fruitier. Do not use a sweetened cocoa mix; the sugar is measured separately for a reason.
- 1/4 cup (50 g) granulated sugar — start here and add to taste. The chocolate bar already carries sugar, so a quarter cup is the right starting point with a 60 to 70 percent bar. If you use a sweeter bar, or milk chocolate, cut the sugar back.
- 4 ounces (115 g) dark chocolate, 60–70% cocoa, finely chopped — chop a bar, do not use chocolate chips. Chips are coated to hold their shape in baking, so they melt grainy. A chopped bar melts smooth and glossy, and it is the same melted-chocolate idea behind our chocolate ganache recipe, just poured into a mug instead of over a cake.
- 1 pinch fine salt — a small pinch amplifies the chocolate flavour without making the drink taste salty. Do not skip it; you will notice the difference.
- 1 teaspoon pure vanilla extract — stirred in off the heat, so its aroma stays in the cup instead of cooking off.
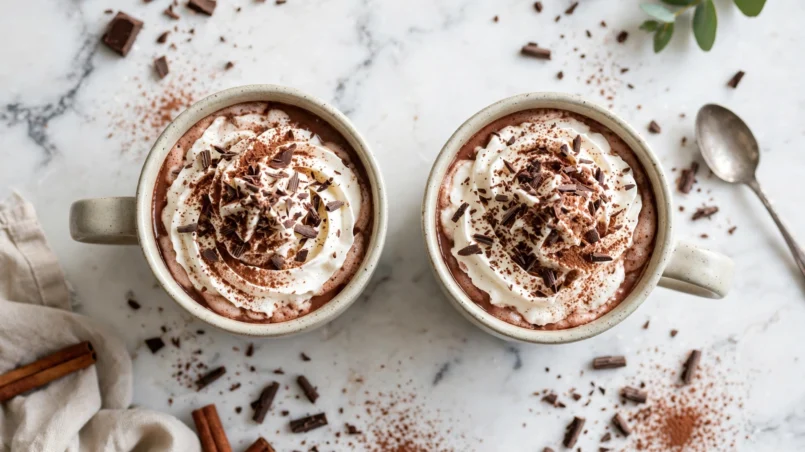
For serving (optional): whipped cream, mini marshmallows, chocolate shavings, a dusting of cocoa powder, or a cinnamon stick for stirring. None of these are in the recipe card — they are toppings, and the drink is complete without them.
How to Make Hot Chocolate
Ten minutes, one saucepan, seven steps. The only step that needs your full attention is the first one — the paste — and after that the recipe practically makes itself.
- Step 1 — Whisk the dry ingredients. Put the cocoa powder, sugar and salt in a medium saucepan and whisk them together until combined and no dry clumps of cocoa remain. Doing this dry first breaks up the cocoa before any liquid touches it.
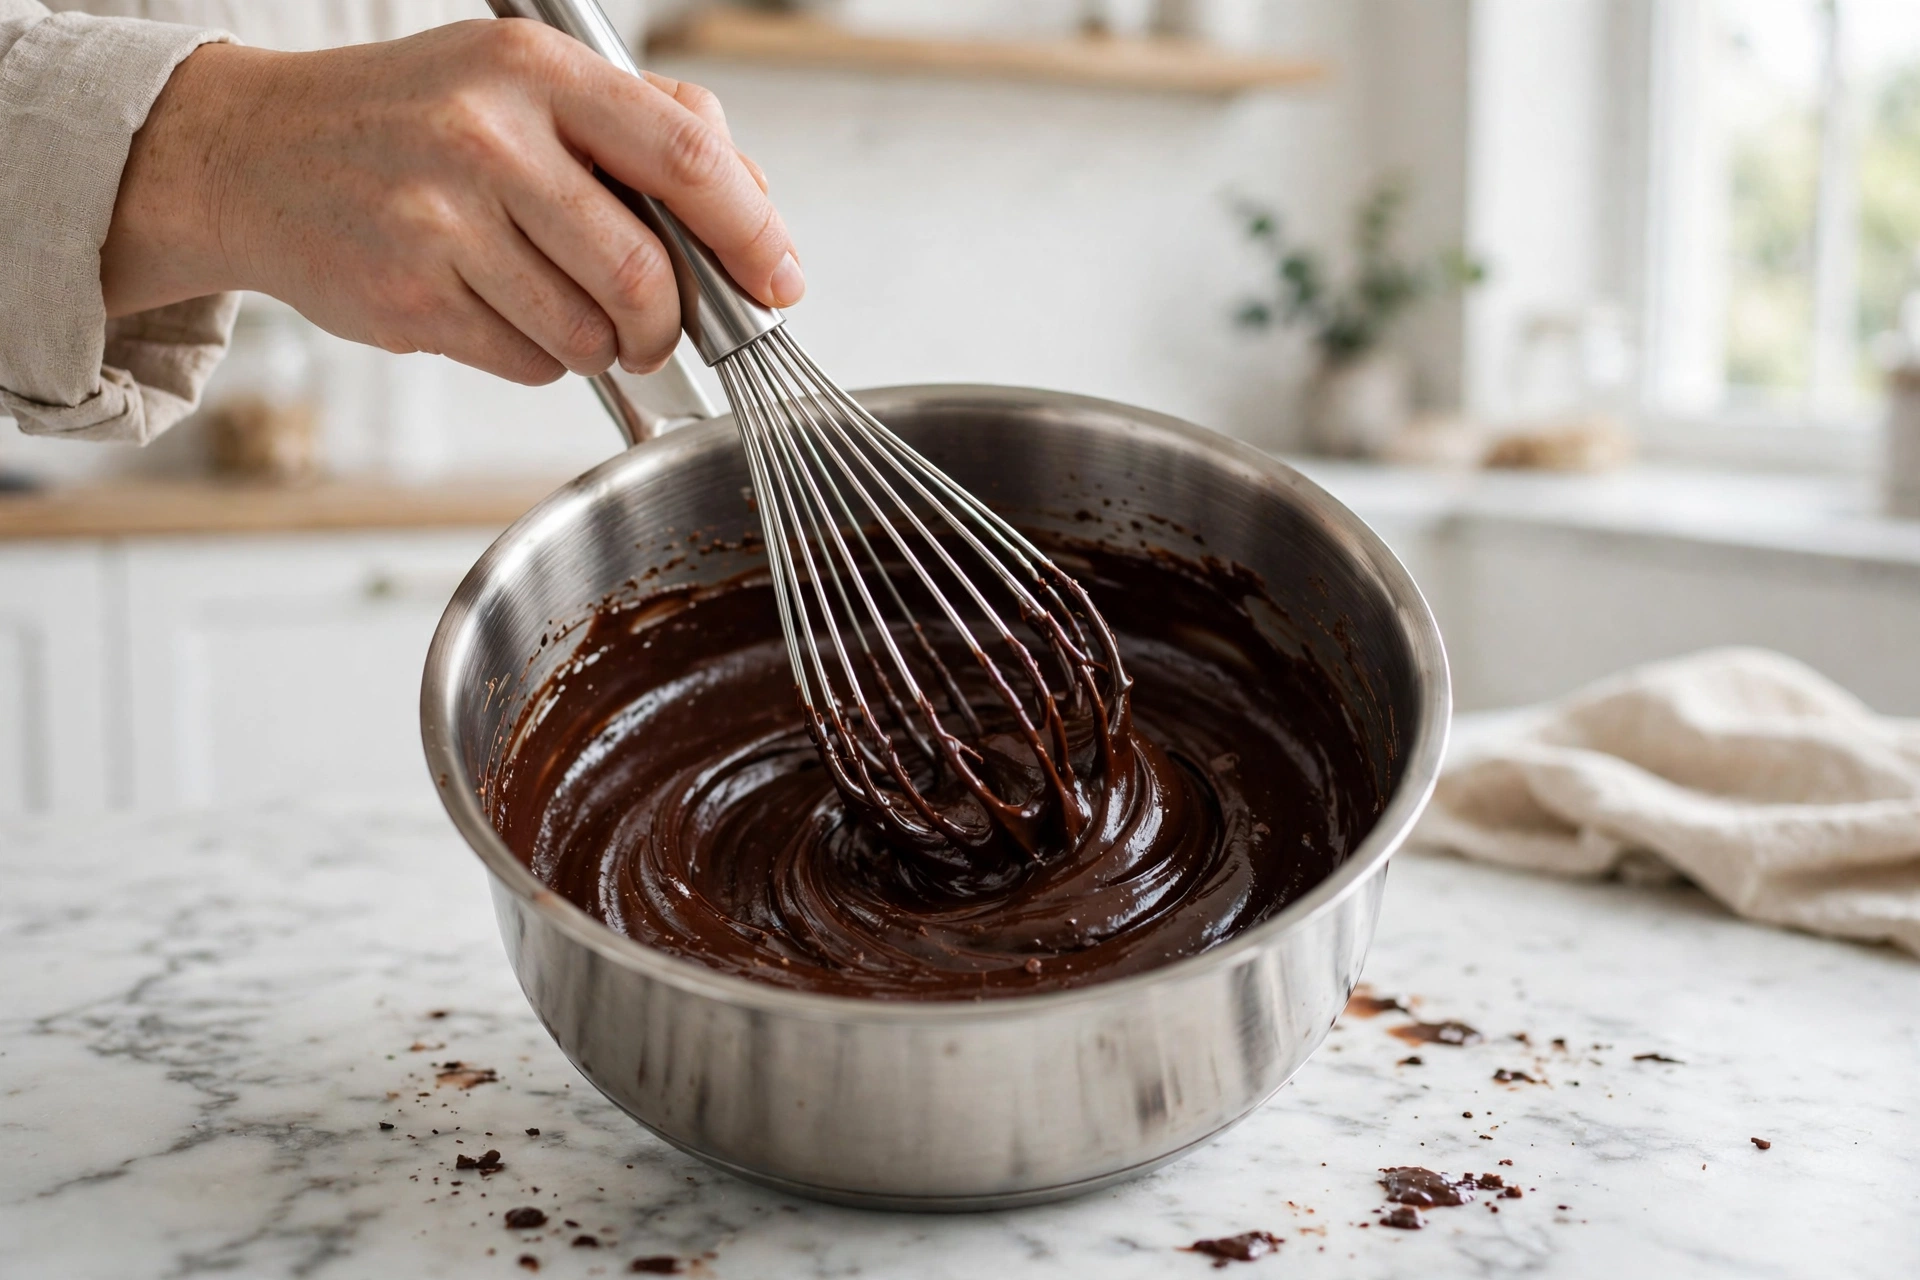
- Step 2 — Make the paste. Add 3 to 4 tablespoons of the milk and whisk hard until you have a thick, glossy paste with no dry specks. It should look like melted chocolate — dark, smooth and shiny. This is the step that decides the whole cup, so take your time with it. (See the paste guide below for what it should look like.)
- Step 3 — Add the rest of the milk. Pour in the remaining milk, whisking constantly, until the paste is fully dissolved and the liquid is an even chocolate colour. Scrape the corners of the pan with the whisk so no paste hides there.
- Step 4 — Heat gently, never boil. Set the pan over medium-low heat and warm the milk, stirring often, until it is steaming and tiny bubbles form around the edge — about 5 minutes. Do not let it boil. Boiling scorches the milk and can make the chocolate separate into an oily film.
- Step 5 — Add the chocolate off the heat. Take the pan off the burner, add the finely chopped dark chocolate, and let it sit for 30 seconds to 1 minute so the heat of the milk starts melting it. Do not stir yet — let it rest first.
- Step 6 — Whisk until smooth, then add the vanilla. Whisk until the chocolate is completely melted and the drink is smooth and glossy. Stir in the vanilla extract. Taste and add a little more sugar if you like it sweeter — it dissolves instantly in the hot drink.
- Step 7 — Pour and serve. Pour into four warmed mugs and serve at once, with whipped cream, marshmallows or chocolate shavings on top if you like. Warming the mugs with hot water first (then drying them) keeps the drink hotter for longer.
The Paste Guide
The paste is a small step, but it deserves its own section, because it is the difference between this recipe and every lumpy cup of hot chocolate you have ever had. Here is exactly what to look for:
- What it should look like: thick, dark and glossy, like melted chocolate or fudge sauce, with no dry specks and no pale streaks of unmixed cocoa. When you lift the whisk, the paste should fall in a slow, smooth ribbon.
- How much milk: 3 to 4 tablespoons is enough. If you add too much milk at this stage you get a thin chocolate liquid instead of a paste, and the cocoa will not hydrate as evenly. Start with 3 tablespoons and add the fourth only if the paste is too stiff to whisk.
- How hard to whisk: whisk firmly for a full 30 seconds. The paste thickens as the cocoa absorbs the milk, then suddenly goes glossy — that change is your signal that it is ready.
- The rescue: if the finished drink ever does go lumpy — it happens to everyone at least once — pour it through a fine-mesh sieve into a clean pan or jug. The sieve catches every lump, the drink underneath is perfectly smooth, and nobody will ever know. Whisk it once more and serve.
Pro Tips and Troubleshooting
Most hot chocolate problems have one of six causes, and all six are easy to fix. Here they are, with the fix for each:
- Lumpy hot chocolate: the cocoa hit hot milk dry. Always make the paste first, with the milk cold or at room temperature. If it is already lumpy, strain the finished drink through a fine sieve as a rescue.
- Oily film on top: the chocolate was too high in cocoa butter for the milk, or the milk boiled. Re-whisk the drink off the heat and it will usually come back together. Next time, keep the heat at medium-low and never let the milk reach a rolling boil.
- Too thin: not enough chocolate for the milk. Add another ounce of chopped dark chocolate before you reach for cornstarch — the chocolate is what gives the drink its body, and cornstarch just makes it taste starchy.
- Too sweet: the chocolate was below 60 percent cocoa, or the sugar was at the top of the range. Use a 60 to 70 percent bar and start at 1 tablespoon of sugar per mug, then add more only if you need it.
- Scorched taste: the milk boiled, or the heat was too high. Medium-low heat, stir often, and pull the pan off the burner the moment you see steam and tiny bubbles at the edge. Scorched milk cannot be fixed, so it is worth watching the pan for those five minutes.
- Grainy texture: chocolate chips instead of a chopped bar. Chips are coated to hold their shape in baking, so they melt unevenly. Chop a bar — or chop the chips too, which breaks the coating and lets them melt smoothly.
Two more tips worth knowing: warm your mugs with hot water before pouring, so the drink stays hot while you drink it; and if you are making this for a crowd, double the recipe in a larger saucepan and keep it warm on the lowest heat, whisking every few minutes, for up to an hour.
Variations
Once the base recipe is in your hands, it is easy to make it your own. Every variation below uses the same method — paste first, milk, heat gently, chocolate off the heat — with one or two changes:
- Mexican hot chocolate: add 1/2 teaspoon of ground cinnamon and a pinch of cayenne pepper or chilli powder with the dry ingredients. The cinnamon warms the drink and the cayenne gives it a slow, gentle heat at the back of the throat. Top with whipped cream and a cinnamon stick.
- Mocha hot chocolate: add 1 teaspoon of instant coffee, or a shot of espresso per mug, with the milk. Coffee deepens the chocolate flavour without making the drink taste like coffee — it is the same trick bakers use in chocolate cake.
- White hot chocolate: skip the cocoa powder and use 6 ounces of chopped white chocolate instead of the dark, keeping the same method. It is sweeter and creamier, and it needs no added sugar at all — taste before you add any.
- Peppermint hot chocolate: add 1/4 teaspoon of peppermint extract with the vanilla, and top with crushed candy canes. A holiday version that disappears fast, especially in December.
- Dairy-free hot chocolate: use oat milk for body, almond milk for a lighter cup, or canned coconut milk for an ultra-rich one — and keep the dark chocolate, which is naturally dairy-free at 60 to 70 percent cocoa. Oat milk is my first choice here because it is the closest to whole milk in texture.
- Make-ahead dry mix: mix 4 parts sugar to 2 parts cocoa powder with a pinch of salt in a jar, and keep it in the pantry for weeks. To serve, whisk 3 tablespoons of the mix with a splash of hot milk into a paste, add the rest of the milk, and finish with the chopped chocolate as usual. It makes a thoughtful homemade gift in a jar, too.
- Scaling: the recipe halves cleanly to two mugs and doubles cleanly to eight — just use a bigger saucepan and give the paste an extra few seconds of whisking. Keep the per-mug ratio exactly the same: 1 cup milk, 1 tablespoon cocoa, 1 to 2 tablespoons sugar, about 1 ounce chocolate.
How to Serve and Store
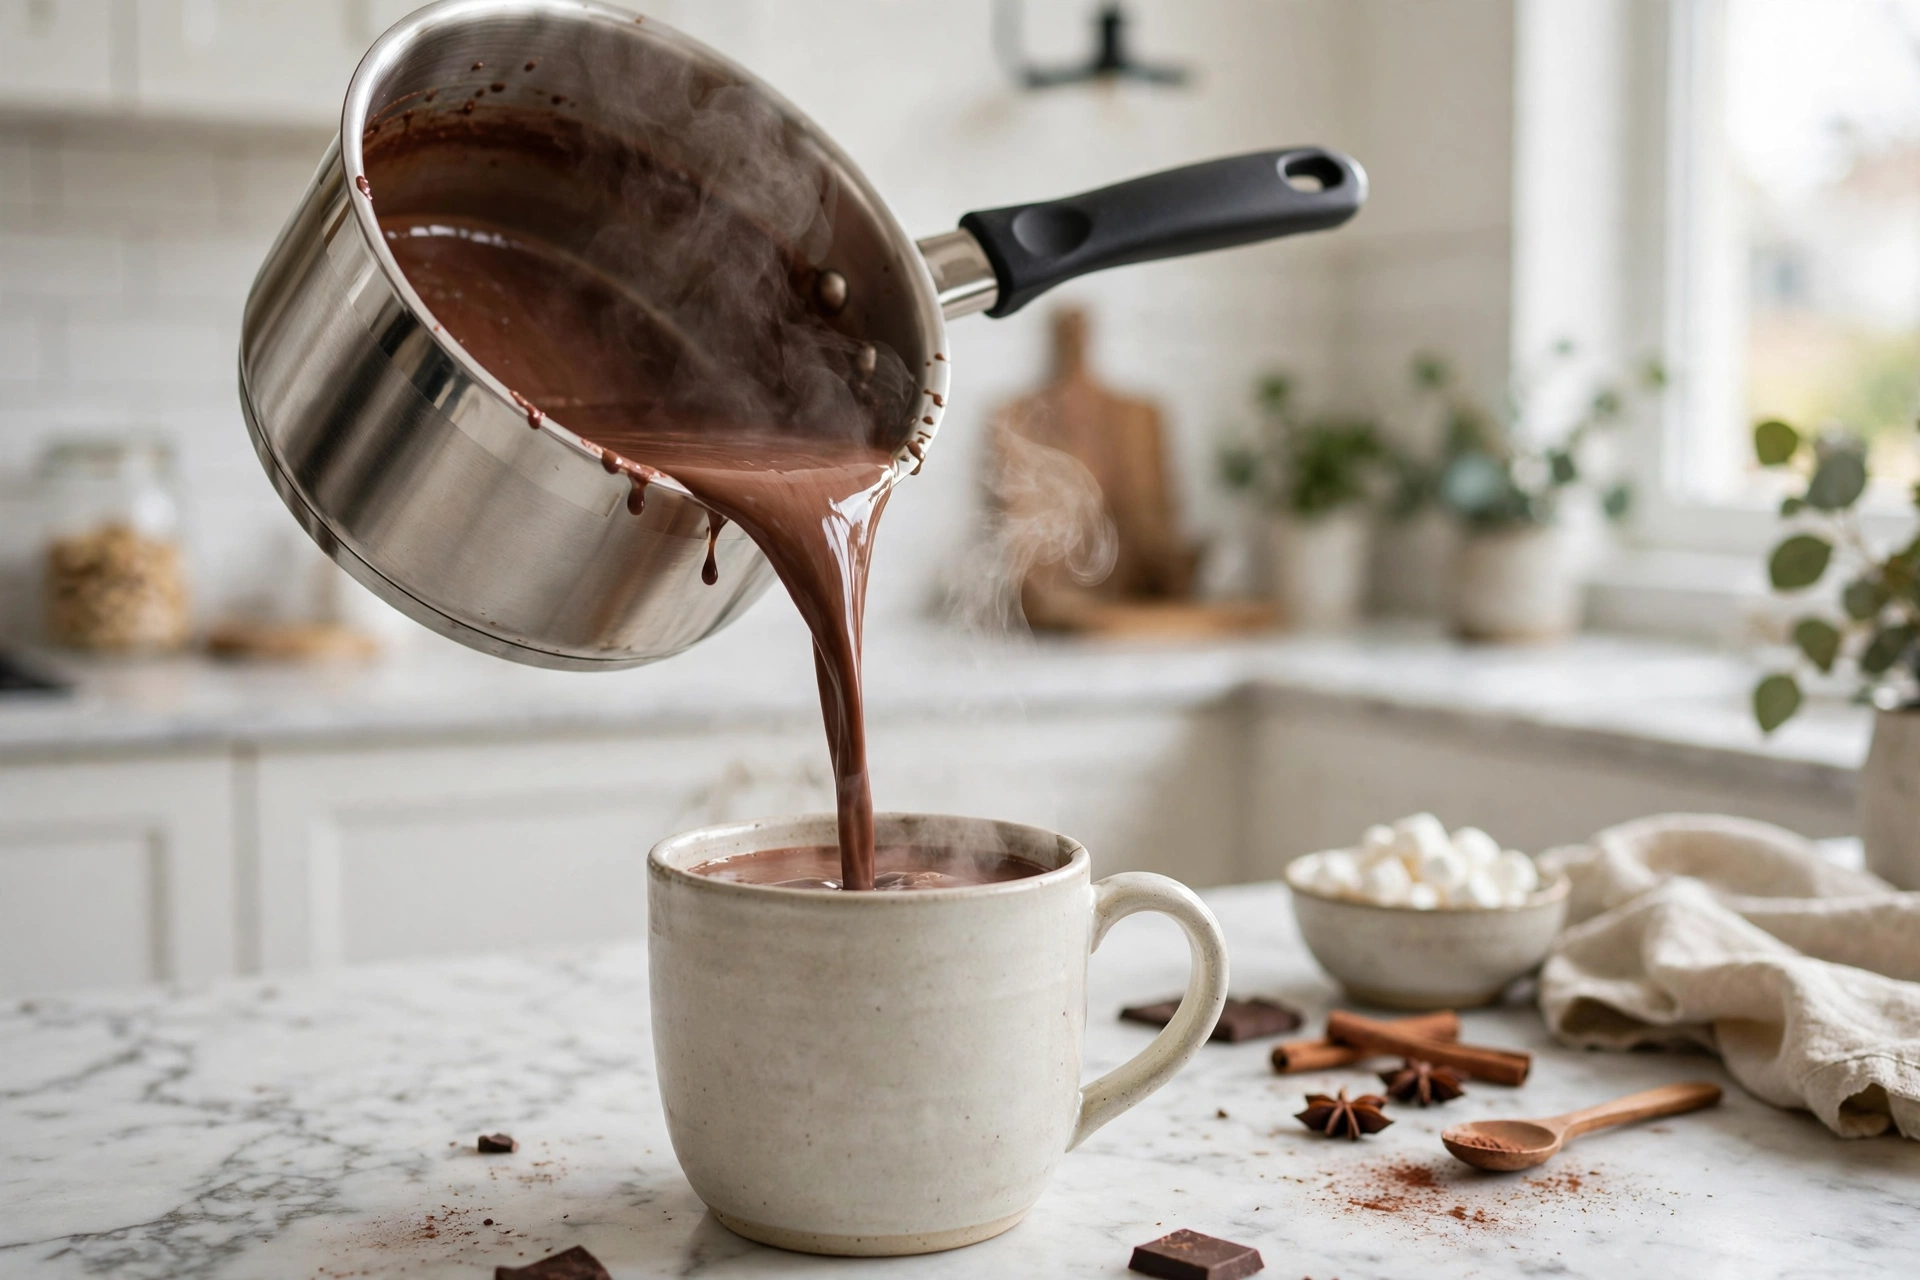
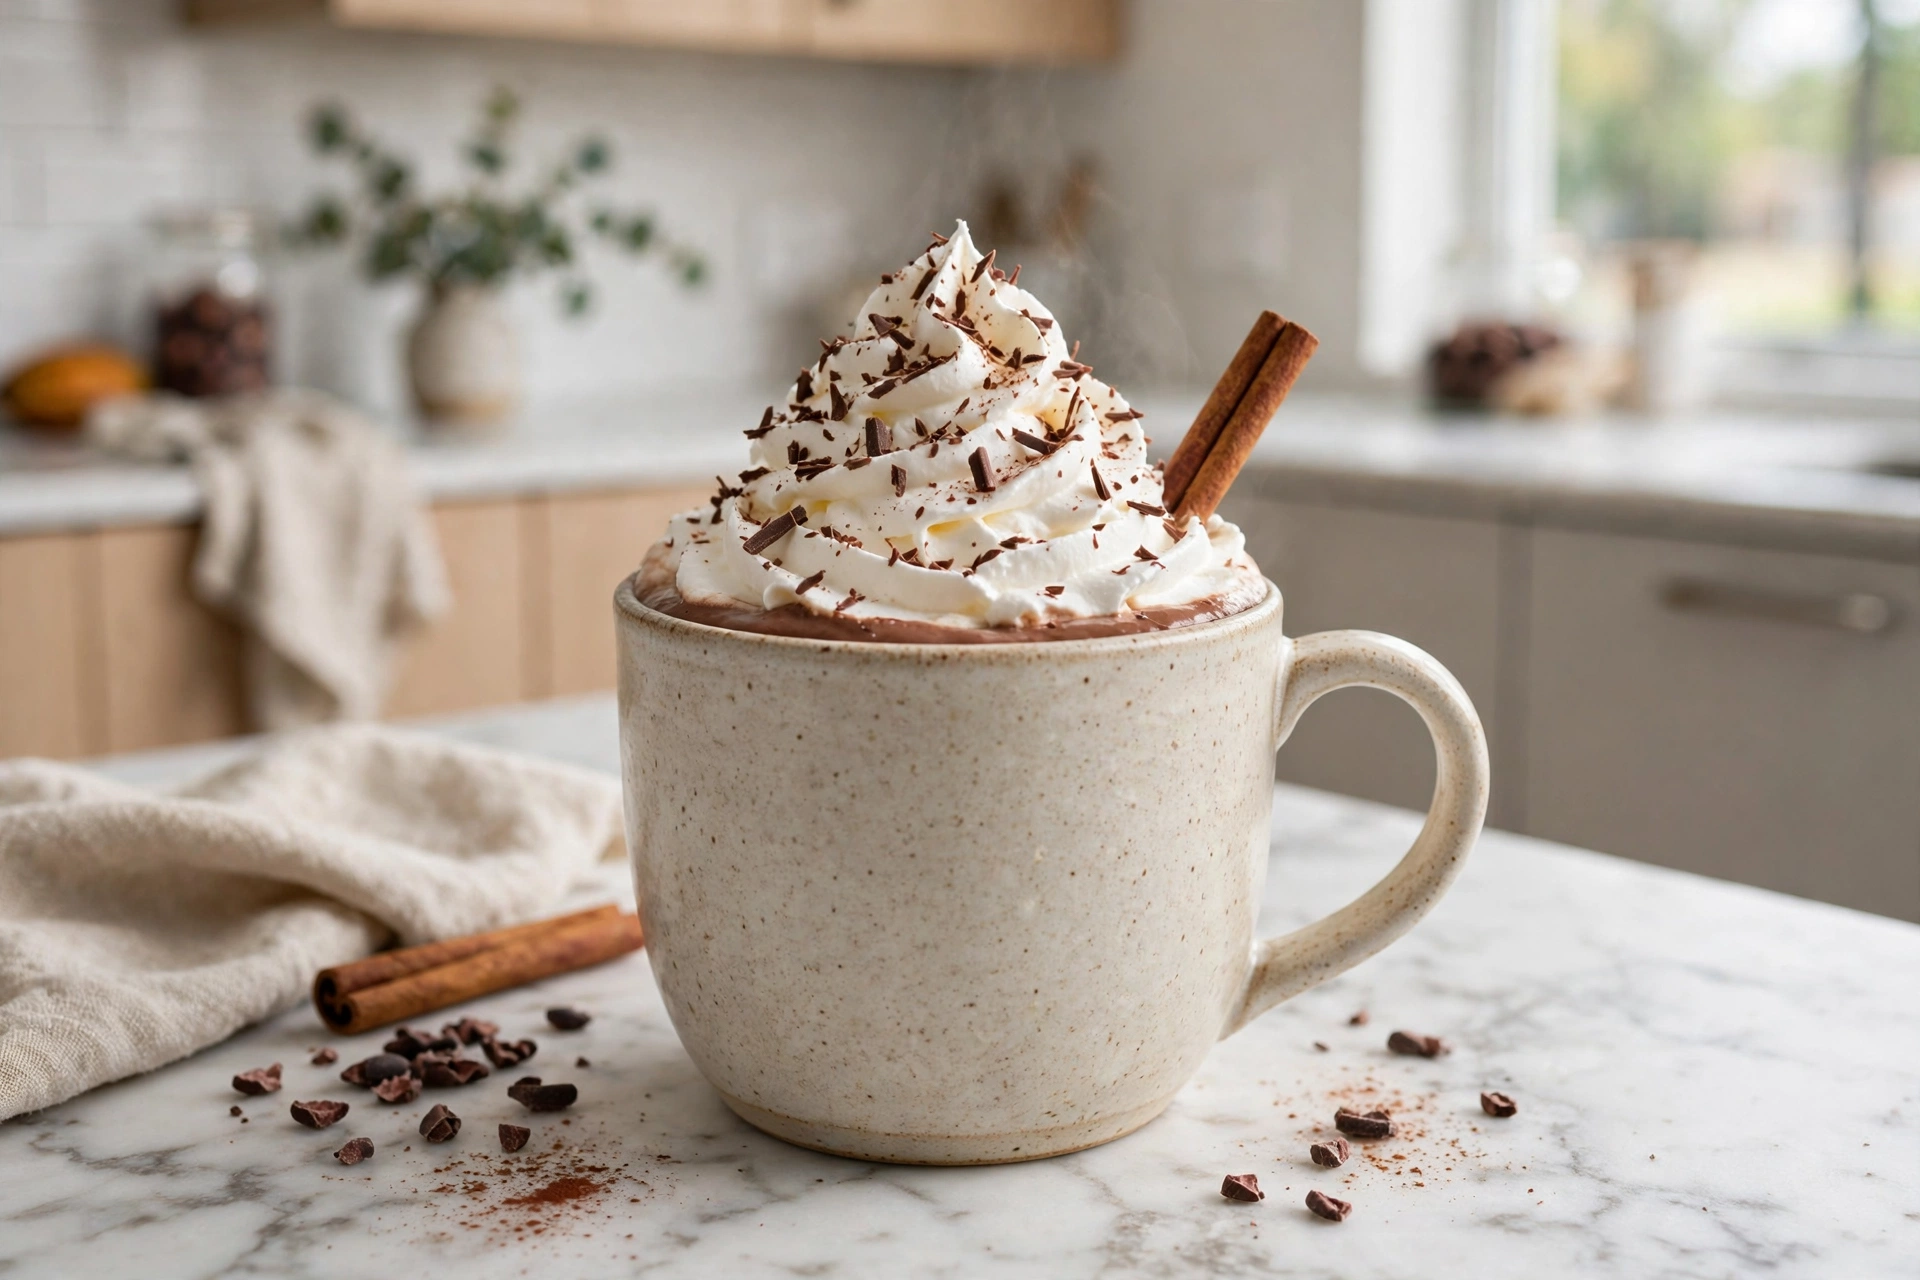
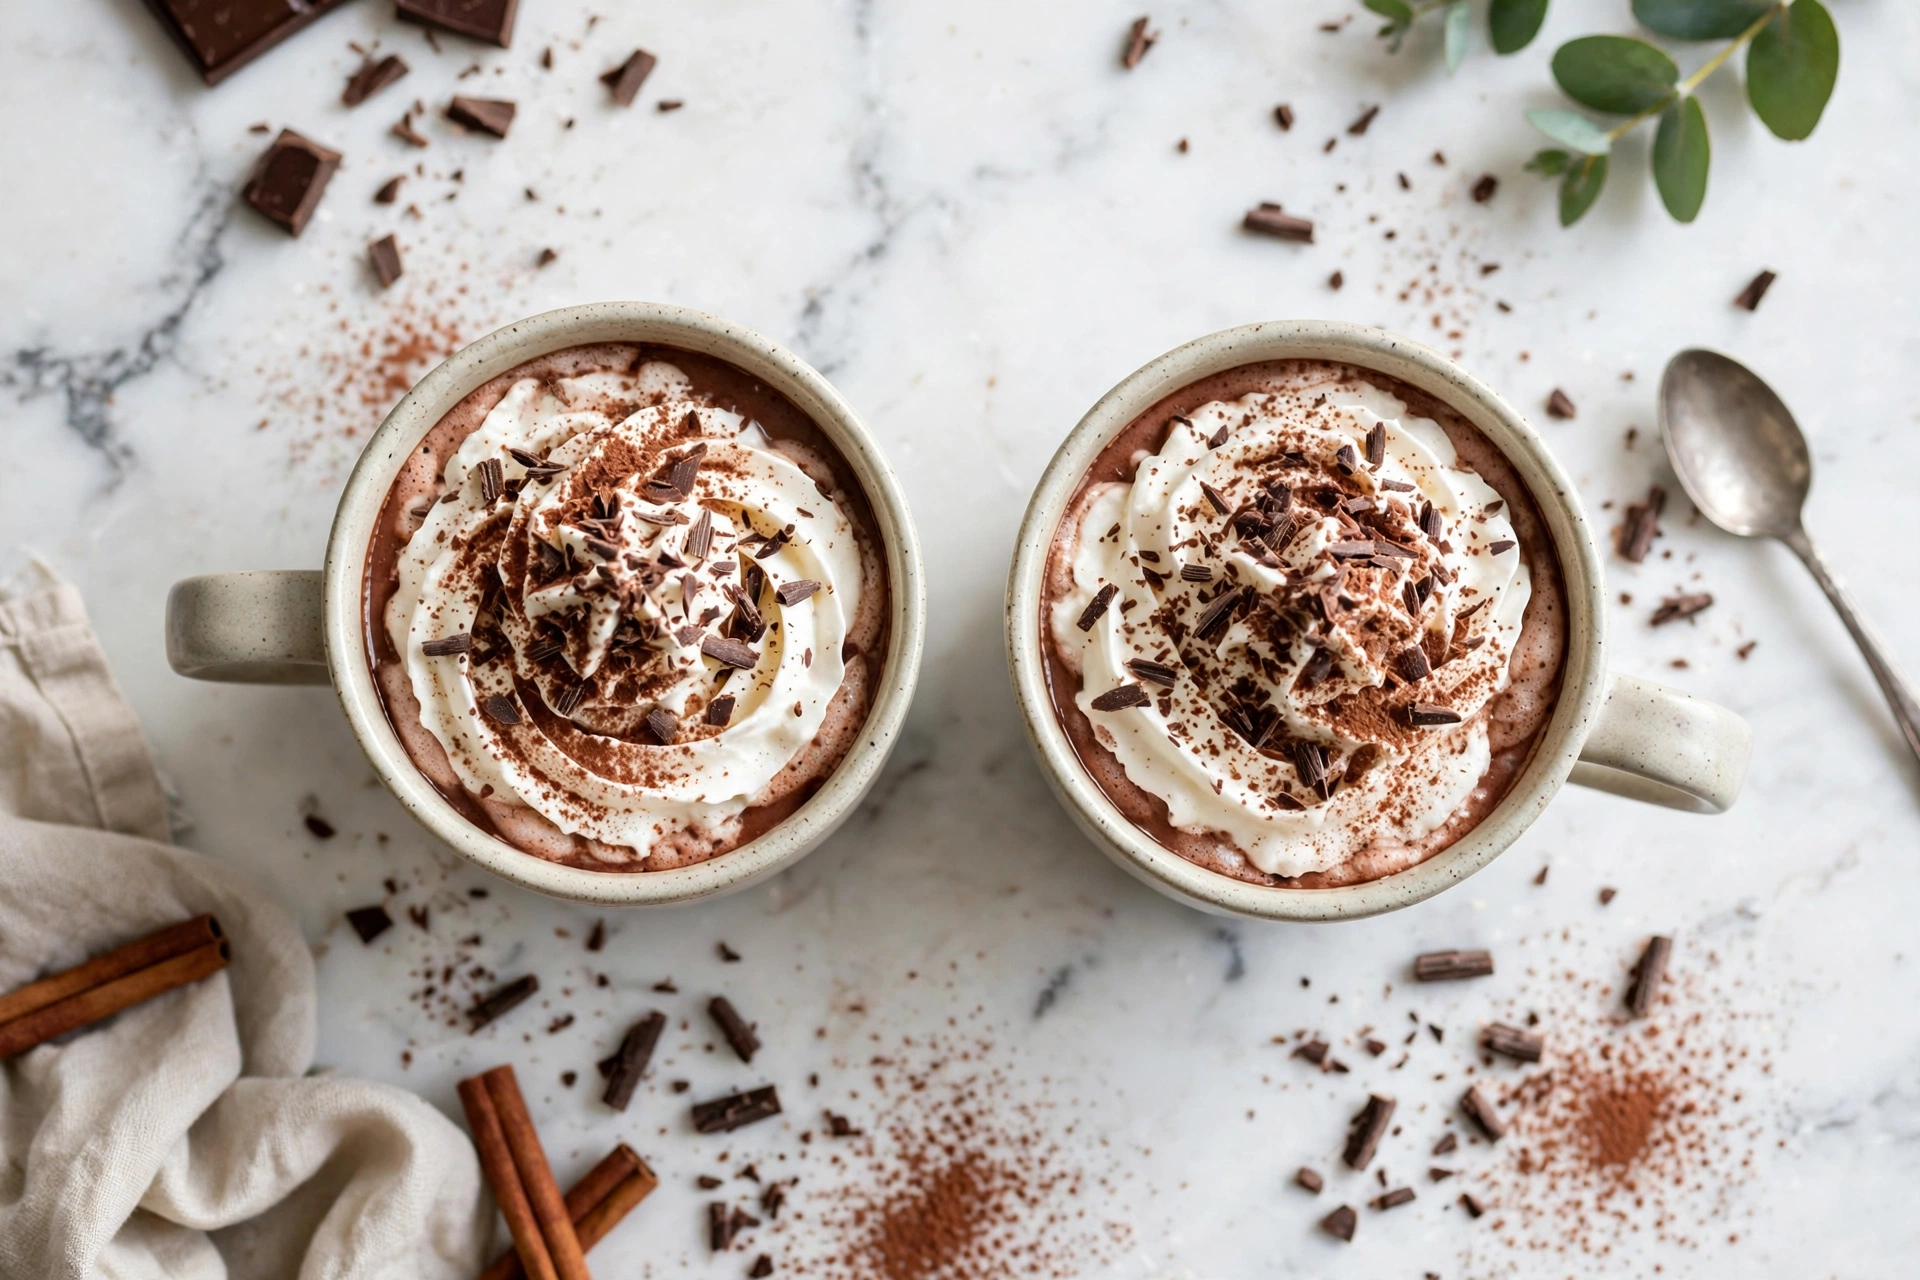
Serving: serve at once, while the drink is steaming, with whipped cream, mini marshmallows or chocolate shavings on top. It pairs beautifully with something to dunk — bake a batch of our eggless brownies and you have a cold-evening dessert that takes less than an hour all in. For a party, set out a toppings bar — whipped cream, marshmallows, crushed candy canes, cinnamon sticks — and let everyone build their own mug.
Refrigerator: leftover hot chocolate keeps 3 to 4 days in the fridge in a covered jug or jar. Reheat it gently over low heat, whisking constantly, until steaming — do not boil it, and do not reheat it in the microwave on full power, which scorches the milk at the edges. Add the toppings fresh each time.
Freezer: I do not recommend freezing the finished drink — the milk separates when it thaws and the texture never quite comes back. Freeze the dry mix instead: the sugar, cocoa and salt keep for weeks in a jar in the pantry, and you are three minutes from a fresh mug.
Make-ahead: the fastest make-ahead version is the dry mix in a jar. If you want the finished drink ready ahead of time, make it in the morning, cool it, refrigerate it, and reheat it gently in the evening — it tastes just as good, and the flavours have had a few hours to settle.
Frequently Asked Questions
Is hot chocolate the same as hot cocoa?
No. Hot chocolate is made from melted chocolate in hot milk, while hot cocoa is made from cocoa powder, sugar and milk. Hot chocolate is thicker and richer; hot cocoa is lighter and quicker. This recipe uses both — cocoa powder for the deep roasted flavour and melted dark chocolate for body and silk — so you get the best of each.
Why is my hot chocolate lumpy?
Because the cocoa powder hit hot milk while it was still dry. Cocoa is so fine that it clumps instantly in hot liquid. Always whisk the cocoa, sugar and salt with a few tablespoons of cold milk into a thick, glossy paste first, and only then add the rest of the milk. If it is already lumpy, pour the finished drink through a fine sieve — the rescue works every time.
Can I make hot chocolate with water instead of milk?
Yes, but it will be thinner and less rich — milk fat is what carries the chocolate flavour and gives the drink its body. If you use water, keep the chopped dark chocolate in the recipe, and add a splash of milk or cream at the end if you have any. A dairy-free milk like oat milk is a better swap than water.
Can I use milk chocolate instead of dark chocolate?
Yes, but cut the sugar back — a milk chocolate bar is already sweet, so start with half the sugar (2 tablespoons for the whole batch) and add more only if you need it. The drink will be sweeter and milder, and it will not taste quite as deeply chocolatey, but it is a good option if you prefer a gentler cup or you are making it for children.
What cocoa powder is best for hot chocolate?
Dutch-process cocoa is my first choice — it is smoother, darker and less acidic than natural cocoa, which makes a rounder, more mellow cup. Natural cocoa works too and tastes a little sharper and fruitier. Either way, use unsweetened cocoa powder, not a sweetened drinking-chocolate mix, so you control the sugar yourself.
Can I make hot chocolate ahead of time?
Yes, two ways. The dry mix — sugar, cocoa and salt in a jar — keeps for weeks in the pantry, and you are three minutes from a fresh mug. Or make the finished drink, cool it, and keep it in the fridge for 3 to 4 days, reheating it gently over low heat and whisking constantly. Do not freeze the finished drink; the milk separates when it thaws.
Why does my hot chocolate taste scorched?
Because the milk boiled. Milk scorches easily, and once it does the taste cannot be fixed — you have to start again. Keep the heat at medium-low, stir often, and take the pan off the burner as soon as the milk is steaming with tiny bubbles at the edge. Five minutes of gentle heat is all it needs.
Nutrition (Per Serving, Approximate)
Calories: 360 | Carbohydrates: 40g | Protein: 11g | Fat: 18g | Sugar: 36g
Nutrition values are estimated for 1 of 4 mugs and may vary based on exact ingredients used.
More Recipes You Will Love
| Recipe | Category |
|---|---|
| Chocolate Pudding Recipe | Chocolate Treats and Candy |
| Chocolate Mousse Recipe | Chocolate Treats and Candy |
| Chocolate Ganache Recipe | Chocolate Treats and Candy |
| Eggless Brownies | Chocolate Treats and Candy |
Hot Chocolate Recipe
Ingredients
Method
- Whisk cocoa powder, sugar and salt in a medium saucepan until combined and no dry clumps of cocoa remain.
- Add 3-4 tablespoons of the milk and whisk into a thick, glossy paste with no dry specks.
- Pour in the remaining milk, whisking constantly, until the paste is fully dissolved.
- Heat over medium-low, stirring often, until steaming with tiny bubbles at the edge, about 5 minutes — do not boil.
- Take off the heat, add the chopped dark chocolate, and let it sit 30 seconds to 1 minute.
- Whisk until completely smooth and glossy, then stir in the vanilla extract.
- Pour into warmed mugs and serve at once with whipped cream, marshmallows or chocolate shavings.